
I baked my first ever loaf of sourdough bread in December 2018 and have been in love with the process ever since. It all started when my husband and I were watching Michael Pollan's docuseries, Cooked, on Netflix. When he mentioned that all you need to make bread is flour and water, I paused the show, exclaimed, "WAIT, WHAT ABOUT THE YEAST?" and promptly Googled it. Alas, he was right, and down the sourdough rabbit hole I went. I started my very first starter, Fro-dough Baggins, that night. Part of the fun of baking sourdough is having a punny name, IMHO! By no means am I an expert -- I don't have my own special recipe to share (yet!), but I do have quite a bit of experience under my belt and wanted to share a resource page on sourdough bread for beginners.
First Things First: What Even IS Sourdough?
Sourdough bread is naturally leavened bread -- so instead of using commercial yeast that you can buy in the store you're harnessing the power of wild yeast that's all around us. Think of yourself as a fisherman, but instead of fish, you're trying to catch wild yeast and bacteria! A sourdough starter is a live fermented culture that acts as a leavening agent in the bread. I love this explanation of sourdough from TED:
There are millions of kinds of bacteria and fungi on earth. Yet if you mix flour and water and expose it to the air for a while, the community of organisms that colonize the resulting concoction is almost always composed of a small handful of microbes that can leaven bread. This community — a combination of bacteria and wild yeast from the air that survives in a bubbly, sticky, acidic mix — is called a starter.
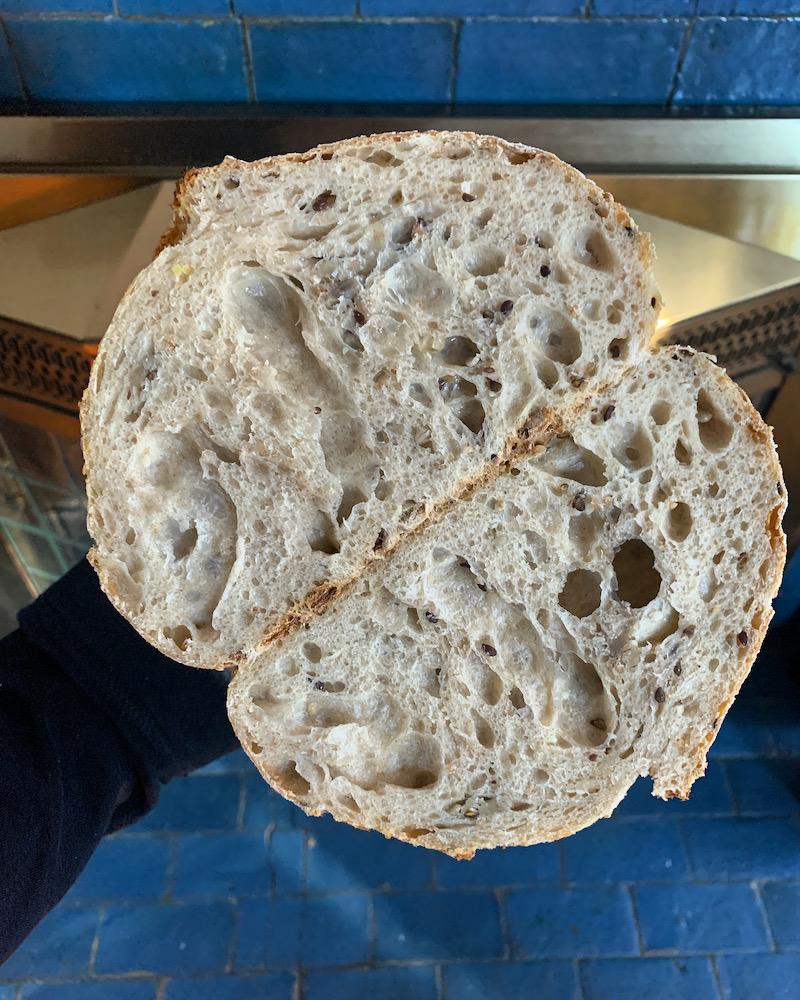
Why does leavened bread rise? Because microbes in the dough produce carbon dioxide that becomes trapped in air pockets in the bread. If you cut a loaf in half, each hole and opening is the result of the exhalation of a group of yeasts contained inside a kind of gluten dome.
-Inside the fascinating (and delicious!) science of sourdough bread
Ok. You Know What Sourdough Is! Time To Make/Aquire a Starter of Your Own
When we moved from LA to Massachusetts, along with our 2.5-month-old baby, two cats, our dog, my husband, and myself, I made sure to bring my sourdough starter, Fro-dough Baggins. It traveled 3,000 miles with me only to succumb to getting cooked in the oven once we got to our new house.
*Important tip*: if you are using an oven light to warm up your starter, make sure to double-check that it's not in there when you turn the oven on to cook dinner. RIP Fro-dough.
When I first began my sourdough baking journey, I used this tutorial from The Kitchn to create a starter. That is a great way to begin because you only need all-purpose flour, water, a jar, and some patience. Once you've been bitten by the sourdough bug you may want to branch out and use different types of flour or make a new starter. There are all sorts of funky variations out there! One involves concord grapes and I'm very eager to try my hand at that one.
Alternatively, you can purchase a dried sourdough starter online! My friend Deanna sells dehydrated sourdough starter on her website, Homestead and Chill.
My current starter is named Albus Percival Wilfred Brian Dumble-dough, and I made it with rye flour but am currently feeding it with whatever flour I have on hand. I keep it in the fridge and discard/feed it once every week if I remember. I store it in a jar like this but don’t fully seal it -- I just place the glass top on so there’s some air that can escape/get in.
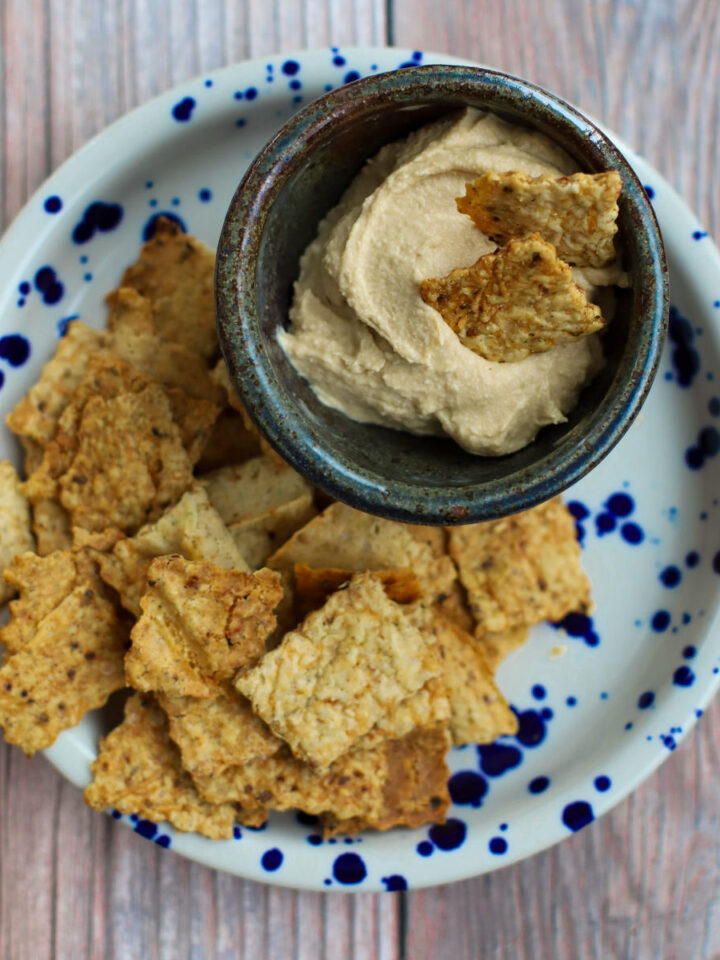
Every baker has their own particular method, and you’ll find what works for you. When I feed my starter I discard roughly half of it (I save the discard up in the fridge for cookies, pancakes, waffles, crackers, and more!) and feed what is remaining in the jar with equal weights of flour and water. This usually ends up being 100g of flour and 100g of water, or if I’m measuring with a cup it’s 1 c flour and ½ c water. Stir it all up until it’s free from lumps and let it rest at room temperature until it starts bubbling. I’ll leave it overnight and then refrigerate it if I’m not baking in the next day or so.
You can get pretty specific with stiff or liquid starters but for right now, don’t worry about that. I’m three years into baking and only now starting to experiment a bit!
Sourdough Pros I Look to for Advice
You can learn so much from folks on Instagram, and that's how I started dabbling in the world of sourdough. My favorite accounts for scoring inspiration, recipes, and general how-to advice are:
I'm sure I'm missing a lot of talented bakers, so I'll add to this list when I think of more accounts. So start there -- look around and try different recipes. Sourdough is fun to constantly experiment with, which brings us to the next point.
Essential Tools For Baking Sourdough Bread
All you really need is flour and water, but the following items will be incredibly useful on your journey. I got a baking scale because it allows you to be very precise with measurements, and you can easily zero out the weight (called tare) so you can quickly add ingredients without doing actual math on paper.
Which is what I did the first few times I baked. Please, please, please don't do that! Learn from my mistakes. A scale will make the process a heck of a lot easier and thus, more enjoyable.

Experiment With Different Recipes
The first few loaves of sourdough to come out of my kitchen were courtesy of, again, The Kitchn. To their credit, their website SEO is on point and it got me started baking sourdough! I find their recipe to be very approachable for total beginners, and that’s the recipe I’ve pointed friends to when they ask how to start baking sourdough bread.
Then, I took an in-person sourdough baking class at Gusto Bread in Long Beach, CA. If you can find a local class, I’d highly suggest taking it -- the hands-on learning is really helpful for understanding how to work with dough. But rest assured, there are plenty of YouTube tutorials out there if you don’t want to/can’t take a class. I’ll share those further down the post.
Here are some recipes I’ve used in the past and recommend to folks looking to start baking:
- Tartine Country Loaf (a bit of higher hydration but it's delicious! Have faith, and know you will mess up at some point, I still do. It's like gardening -- trial, error, learning!)
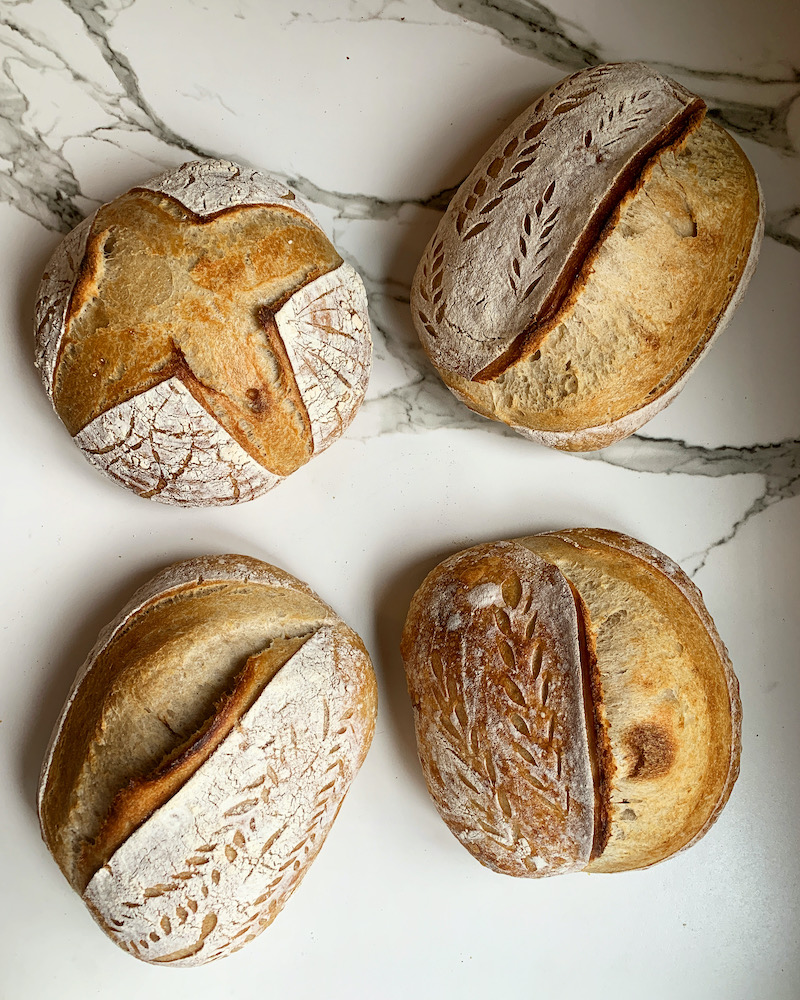
- Brooklyn Sourdough Loaf (lower hydration, good for fancy scoring)
- The Kitchn Sourdough (simple, not the best flavor, but makes decent loaves)
Sourdough Baking Schedule
One thing that seems to deter people from hopping on board the sourdough train is the idea that it will take hours and hours of precious time. While it absolutely takes more time than buying a loaf from the store, if you nail down a baking schedule you'll find it's fairly easy to integrate into your day-to-day life. Usually, recipes will have timing included in the directions, and as you progress you’ll learn that there are things you can do to tweak timing to fit your life -- for instance, putting the dough in the fridge halts the process so you can press pause if you need to.
Also, sometimes a recipe will call for a room temperature final proof or an overnight proof in the fridge. Don’t get intimidated or overwhelmed! When in doubt, Google or YouTube. You can find out so. much. information. Heck, everyone and their mother was baking sourdough during the 2020 pandemic lockdown, so there is ample info out there. Check some of the resources I listed above and click around -- those folks are pros and will likely have what you’re looking for!
There are lots of baking schedules that you can use depending on what your lifestyle looks like. I’m home during weekdays with our toddler daughter so it’s hard right now to make the bread during the day, and we have too many things to do on weekends to make it then, so I use Friday night as my bread-making night. It’s already Pizza Friday in our house, and we usually watch a movie on Fridays, so I start the dough right when Reese is eating dinner and then finish the rest of the steps after she goes to bed by pausing whatever we’re watching to do turns and folds.
For the sake of discussion, let’s use Brooklyn Sourdough’s recipe as our example dough -- it’s a wonderful beginner dough that isn’t too high in hydration so it’s easy to work with.
My Current Baking Schedule
- Thursday afternoon: Take the starter out of fridge and bring to room temperature for a few hours.
- Thursday night: Discard half of starter and feed with equal amounts water and flour. Mix, loosely cover, and let rest in the oven with the light on overnight.
- Friday Morning: Since I keep my starter in the fridge during the week, I like to make sure it's extra active before baking. Discard half and feed starter again, putting it back in the oven with the light on.
- Friday afternoon: Check your starter to see how it’s doing! It should be looking good and raring to go, getting nice and bubbly, and have almost doubled in size in the jar. I like to use a rubber band on the outside to mark the level of the starter at the beginning of the feed to gauge how it’s doing.
- Friday Night - 5:00PM: Mix dough according to the recipe you’re using. The recipe I typically use takes ~4.5 hours of mostly passive time so I make it throughout the evening, shape it, and by the time I go to bed at 10 it’s ready to tuck in the fridge overnight for a long cold final rise.
- Saturday Morning: Pre-heat oven and dutch oven for 30 minutes at prescribed temperature, turn the dough out onto parchment paper, score, and bake! Check out the video below on how to get a great ear -- it goes into nerdy depth about oven temperature for pre-heating and baking and I learned a lot from it.
Video Resources
If you can't take a class then rest assured you'll be able to find anything you want to learn about sourdough bread for beginners on YouTube! Here are some links for the various recipe steps -- it's helpful even now for me to watch other more experienced bakers do certain techniques. Watch, experiment, learn:
- Stretch and fold
- Pre-shaping your dough
- Shaping your dough
- Scoring techniques
- 15 Mistakes Most Beginner Sourdough Bakers Make
- How to get a perfect ear on your loaves (starting at 10:00 for explanation)
PHEW! I tried to practice some restraint and not write an overwhelming amount of information. My goal was to provide lots of resources for making sourdough bread for beginners from a variety of places, give an overview of the process, and explain a little of the complexity you can dig into down the road.
If you have any questions, please reach out! I’m always happy to help folks begin their sourdough baking journey. It’s an incredibly soothing and enriching hobby...and you get to eat delicious bread to boot!
This post contains affiliate links. Front Yard Veggies uses affiliate links as a small source of revenue to fund operations. If you purchase anything from affiliate links, I earn a tiny commission at zero cost to you.

Leave a Reply