
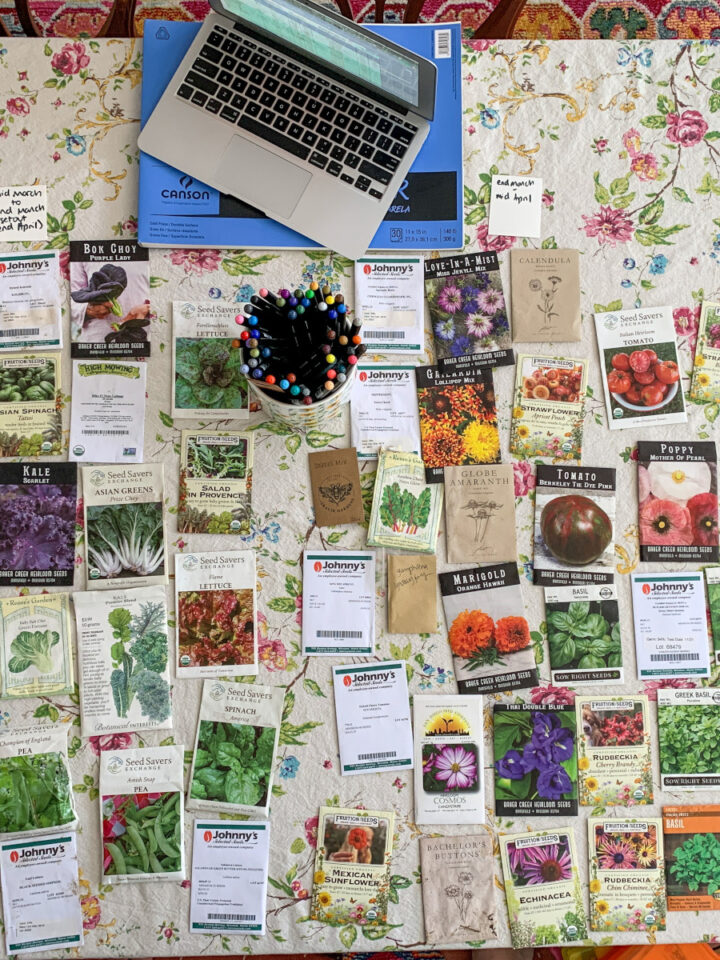
As much as I appreciate my newfound and much-needed pause from gardening during the winter, I long for the taste of fresh, garden-grown veggies. Like I've said before, growing your own vegetables ruins store-bought produce for you. There's no comparison! And while I eventually would like to get a handle on season extension via growing under cover, in cold frames, maybe in a greenhouse down the road, this winter I'm putting the garden to bed and relying instead on growing microgreens in the basement. If you, too, pine for fresh veggies during the cold winter months, then read on to learn how to grow microgreens and put your seed-starting setup to good use well before it's time to think about spring gardening.
What's The Deal With Microgreens?
Microgreens are nutrient-dense tiny greens that can be grown with limited space and take roughly two to three weeks to harvest after sowing the seeds. This makes them a great option for urban gardening, for fresh veggies during the winter when snow is covering the ground, or for a quick and fun addition to your outdoor veggie gardening endeavors.
In a study published in the Journal of Agricultural and Food Chemistry in 2012, it was found that:
In comparison with nutritional concentrations in mature leaves, the microgreen cotyledon leaves possessed higher nutritional densities.
"Assessment of Vitamin and Carotenoid Concentrations of Emerging
Food Products: Edible Microgreens" by Zhenlei Xiao,Gene E. Lester,Yaguang Luo,and Qin Wang
The same 2012 study states that "Limited studies have shown that some young seedlings may have much higher levels of vitamins, minerals, and other health-giving phytonutrients than the mature leaves. In a recent study from Lester et al., it was reported that the younger leaves of baby spinach (Spinacia oleracea L.) generally had higher levels of phytonutrients: vitamins C, B9, and K1, and the carotenoids (lutein, violaxanthin, zeaxanthin, and β-carotene) than the more mature leaves.
I'm no scientist, but that's enough to convince me that not only are microgreens delicious, but they're also nutritious. Interested? Read on to learn how to grow microgreens at home!
What Kind of Seeds Can You Use for Microgreens?
For starters, you can grow any or all of the below list! Buying seeds in bulk is your best bet, since you'll get the most bang for your buck that way. I like ordering microgreens mixes from Johnny's or High Mowing Organic Seeds.
- Red amaranth
- Anise
- Arugula
- Basil
- Beets
- Borage
- Broccoli
- Buckwheat
- Cabbage
- Celery
- Chard
- Cilantro
- Peas
- Kale
- Kohlrabi
- Lettuces
- Mizuna
- Mustard
- Nasturtium
- Bok choy
- Radish
- Scallion
- Spinach
- Sunflower
- Tatsoi
Supplies You Will Need
- Seeds
- Water
- A growing medium like a seed-starting mix
- Growing container with holes and bottom trays
- A grow light
- A humidity dome, or plastic wrap
- A small kitchen scale or measuring cups
- A spray bottle and a pitcher
- A pair of scissors
How to Grow Microgreens
- You can use this spreadsheet calculator from Penn State to determine how many seeds to use, in weight, based on the size of the tray that you're using. It's a nifty tool that I found, downloaded, and keep handy on my computer.
- Pre-moisten soil and fill tray. You can use specialized microgreens trays like these from Bootstrap Famer, or get frugal and resourceful and use any clean container suitable for food production, ensuring that the trays have drainage holes at the bottom. This way you can bottom water your microgreens after they germinate to avoid getting the leaves wet, which happens if you top water and can lead to damping off. In the past, I've used clamshells from strawberries, takeout food containers for makeshift trays but will be using dedicated microgreen trays this winter.
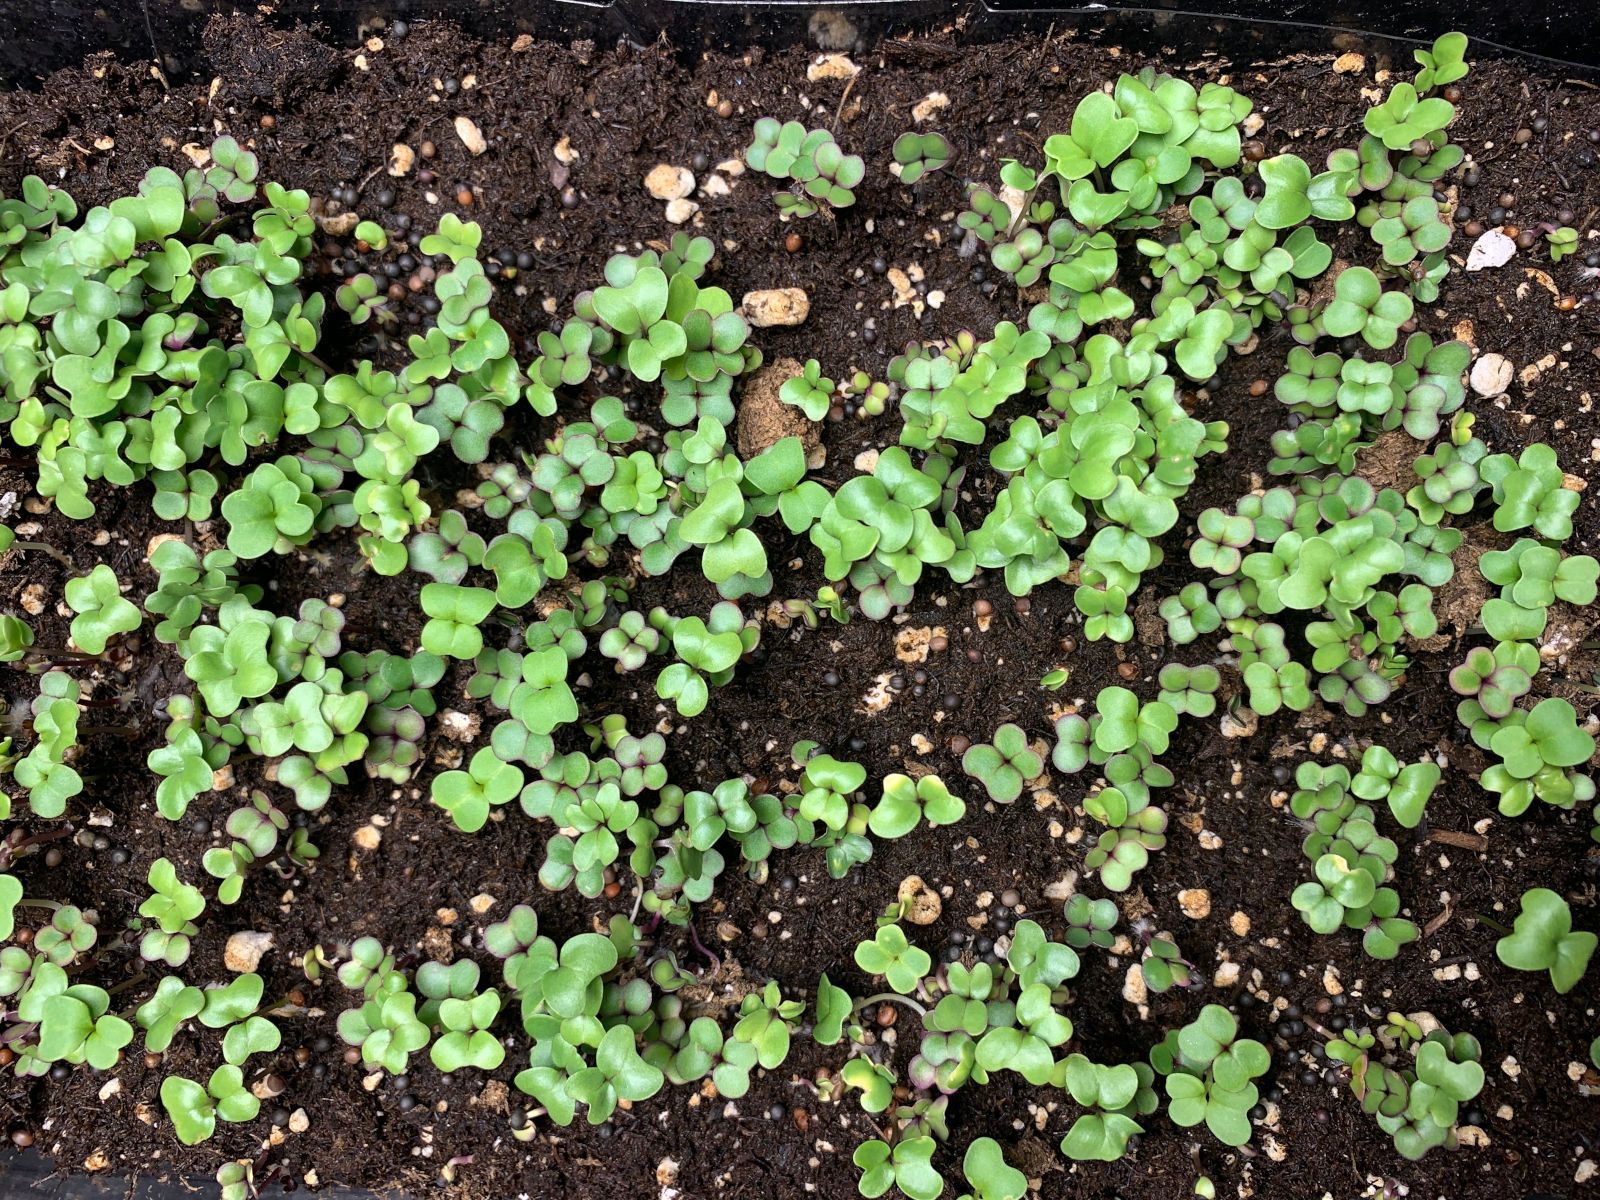
- Seed your trays by spreading your desired amount of seeds over the top of the soil, pressing down lightly, sprinkling a tiny amount of soil over the top, and misting with spray bottle. Sometimes you'll see recommendations for pre-soaking seeds which can be helpful for certain seeds like peas or sunflowers, so do a quick Google around before planting. The spreadsheet I linked above has information on 36 varieties of microgreens, including how long it will take from planting to harvest, and how the final microgreens taste. It's a wonderful resource that you should check out if you haven't already!
- Cover with a humidity dome (or plastic wrap that you will flip over every day until the seeds germinate to eliminate too much moisture building up) and wait. You don't need a grow light until after they've sprouted, so leaving them in the dark is fine. Once they sprout, however, immediately remove the humidity dome and flip those lights on. Or if you're growing on an east or south-facing sunny windowsill, move the tray.
- After they've sprouted, you'll need to make sure the microgreens don't dry out, but you also don't want them waterlogged, either. There are different schools of thought as to whether or not bottom watering or top watering is best, but I've found that as long as you don't soak the microgreens, bottom watering is your best bet. However, if you are having issues with overwatering then you can try top misting. Gardening is all about trial and error, and the nice thing about microgreens is they have a short growing cycle, meaning it's a nice way to experiment with growing methods.
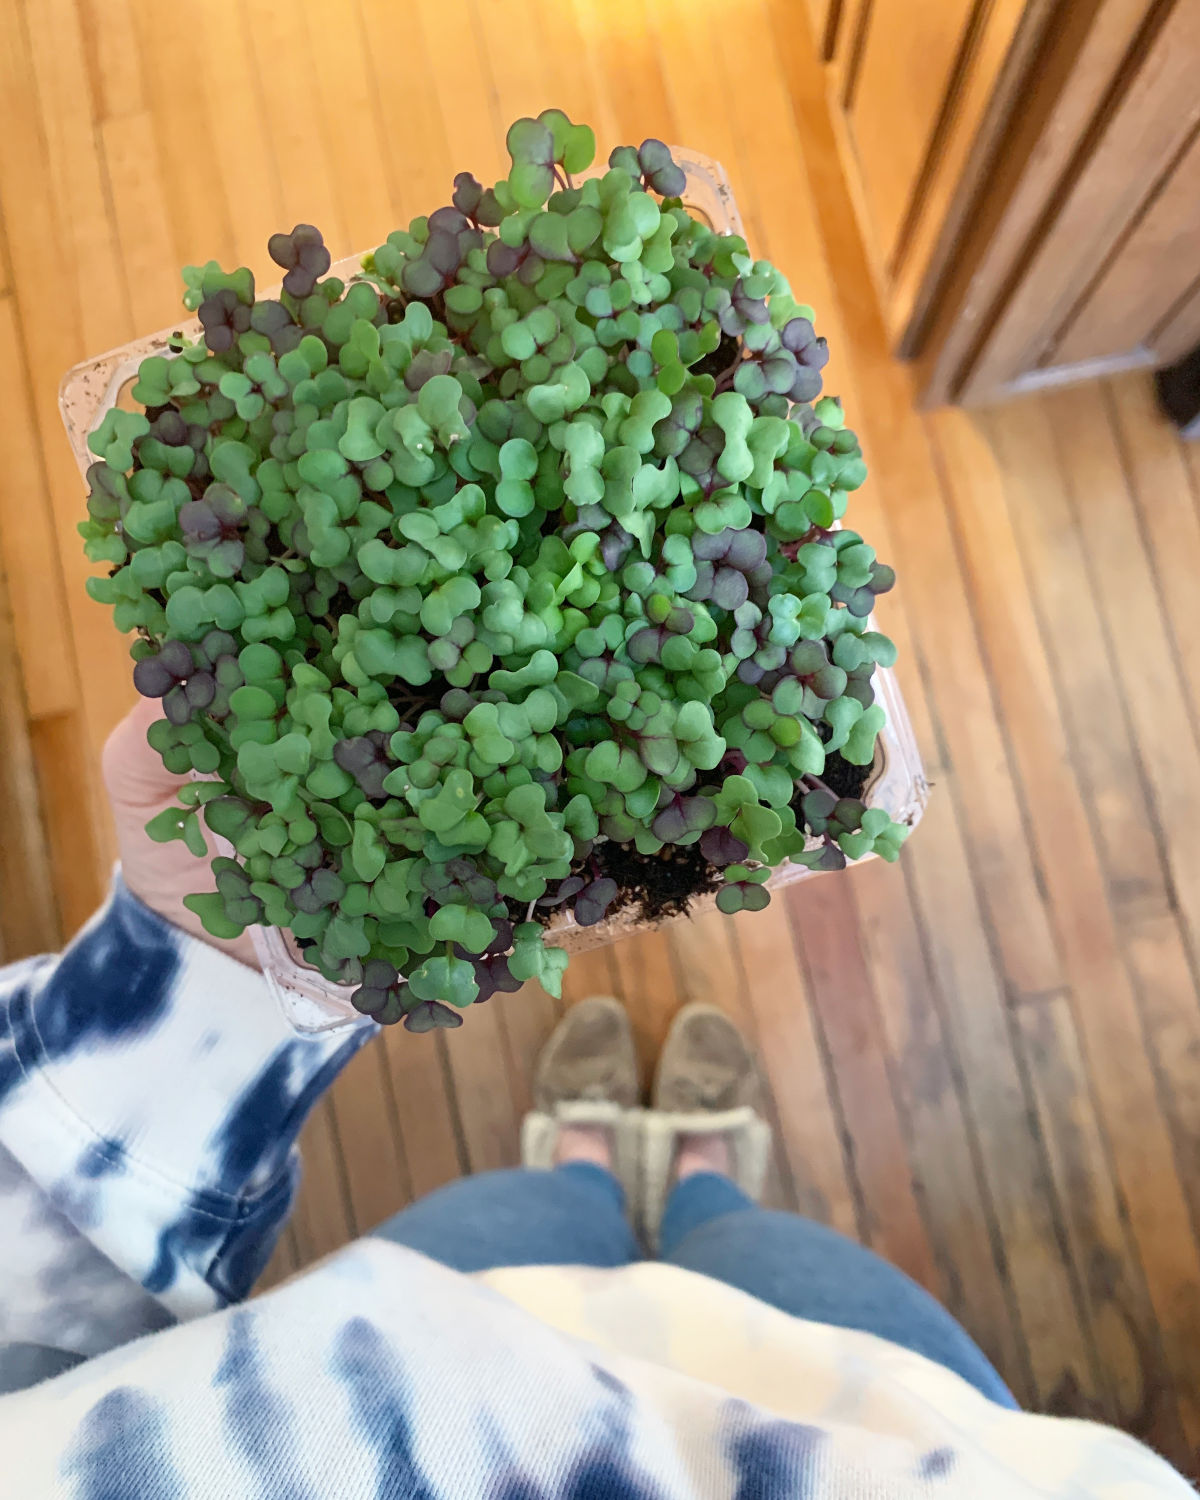
- Harvest those microgreens! Anywhere from 2-3 weeks after sowing your seeds, they'll be ready to harvest. I love growing microgreens because they're easy to grow, incredibly nutrient-rich, but expensive as heck to buy in a store — which means this is a win-win-win for you! You'll wait for the first set of true leaves to appear — you know, the ones that look like miniature versions of the full-grown plant's leaves. The first set of leaves to emerge are known as cotyledon leaves, so you will see those and the next set will be true leaves. Once you spot those, you can get to snipping. Trim just above the base of the soil, give them a little rinse in the sink, and sprinkle on dishes to your heart's delight!
How Can I Use Microgreens?
- I love adding them on top of sourdough toast, a drippy egg, and some hot sauce. A little sprinkle of microgreens and it's an easy and delicious breakfast.
- Sprinkle on sandwiches.
- Arugula microgreens are delicious on top of pizza.
- One of my favorite weeknight meals is a nice stir fry, and microgreens are a great addition.
- Mix into a salad for a little pop of flavor and color.

Will you be growing microgreens this winter? And if you already love growing them, what are your favorite varieties to grow?
Comments
No Comments