
During a fridge cleanout the other day, I came face to face with a sad, neglected item: my sourdough discard jar. There it sat in the back of the fridge, languishing, with a layer of hooch on top. Now, hooch is a completely normal and safe part of the sourdough process, and is a grey liquid that collects on top and smells very strongly, usually of vinegar, but sometimes of alcohol. This is due to the microbes starving from not being fed regularly, which is actually pretty sad and definitely makes me feel guilty, but alas, it can be fixed with a few good feedings! The sourdough discard currently fills an entire large Weck jar, with no room for additional discard, so it was high time I got to using it up — and I had just the idea for it.
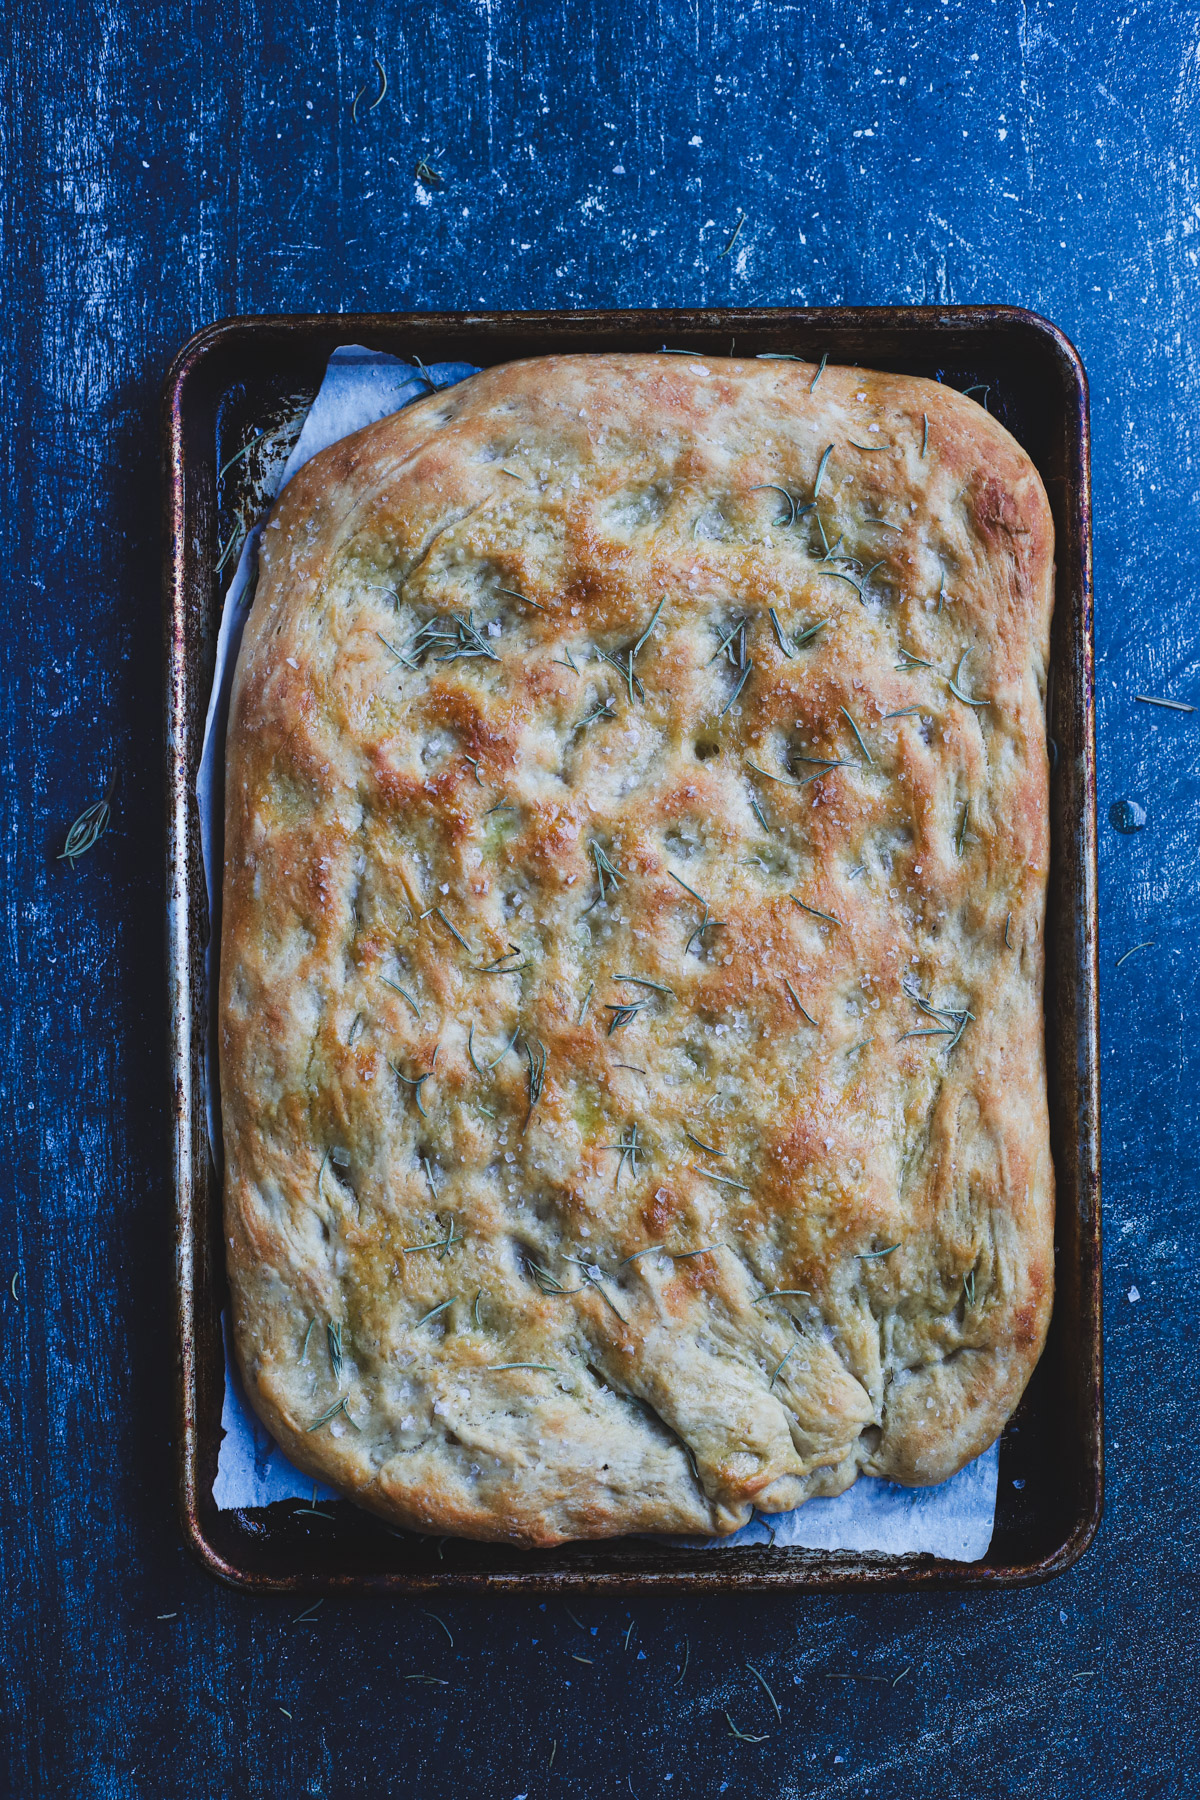
Sourdough discard focaccia!
What's that? You're not baking sourdough bread yet, despite having lived through the Great Sourdough Craze of 2020? I've got you covered: Sourdough Bread for Beginners.
Now, focaccia is one of the easiest, yummiest, most versatile breads out there in my humble opinion. It can be zhuzhed up or left relatively plain, and my two young kids will always devour it when I make it. So naturally, it's one of my go-to recipes, because getting them to agree on anything is usually a challenge of the highest magnitude.
This sourdough discard focaccia can be made in just a few hours and it's mostly hands-off. I started the dough mid-morning, then let it bulk rise while doing various other tasks like picking up the kids from school and dolling out the necessary afternoon snacks. It's also a fun one to involve your kids in, if they're into baking with you!
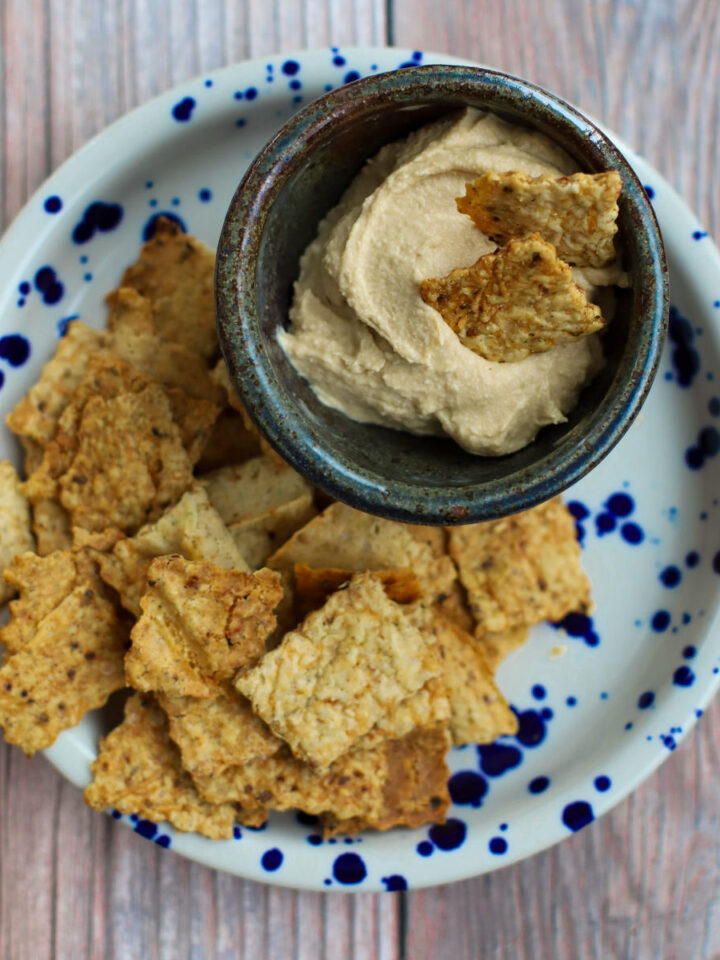
Looking for other sourdough discard recipes? You might like my sourdough discard crackers or sourdough apple fritters!
Hint: This is a great base for a deep-dish pizza recipe. Shape the dough as stated in the recipe, then top with sauce, cheese, and toppings of choice and bake as directed.
FAQ
I’m trying to write baking recipes now with both cup and weight measurements, because I want them to be accessible to everyone. And while a lot of bakers pooh-pooh anyone not using a kitchen scale, the fact of the matter is that not everyone has one — or wants one. Honestly, back in the day of old-school bread baking, it wasn’t even a thing, so part of me feels like insisting on a scale can come off a little pretentious. But that’s a discussion for another day.
Bottom line: use one, or don't. If you have been on the fence about one, the main benefit for me is not having to dirty additional measuring cups. This is the one I have had since 2018 and I love it.
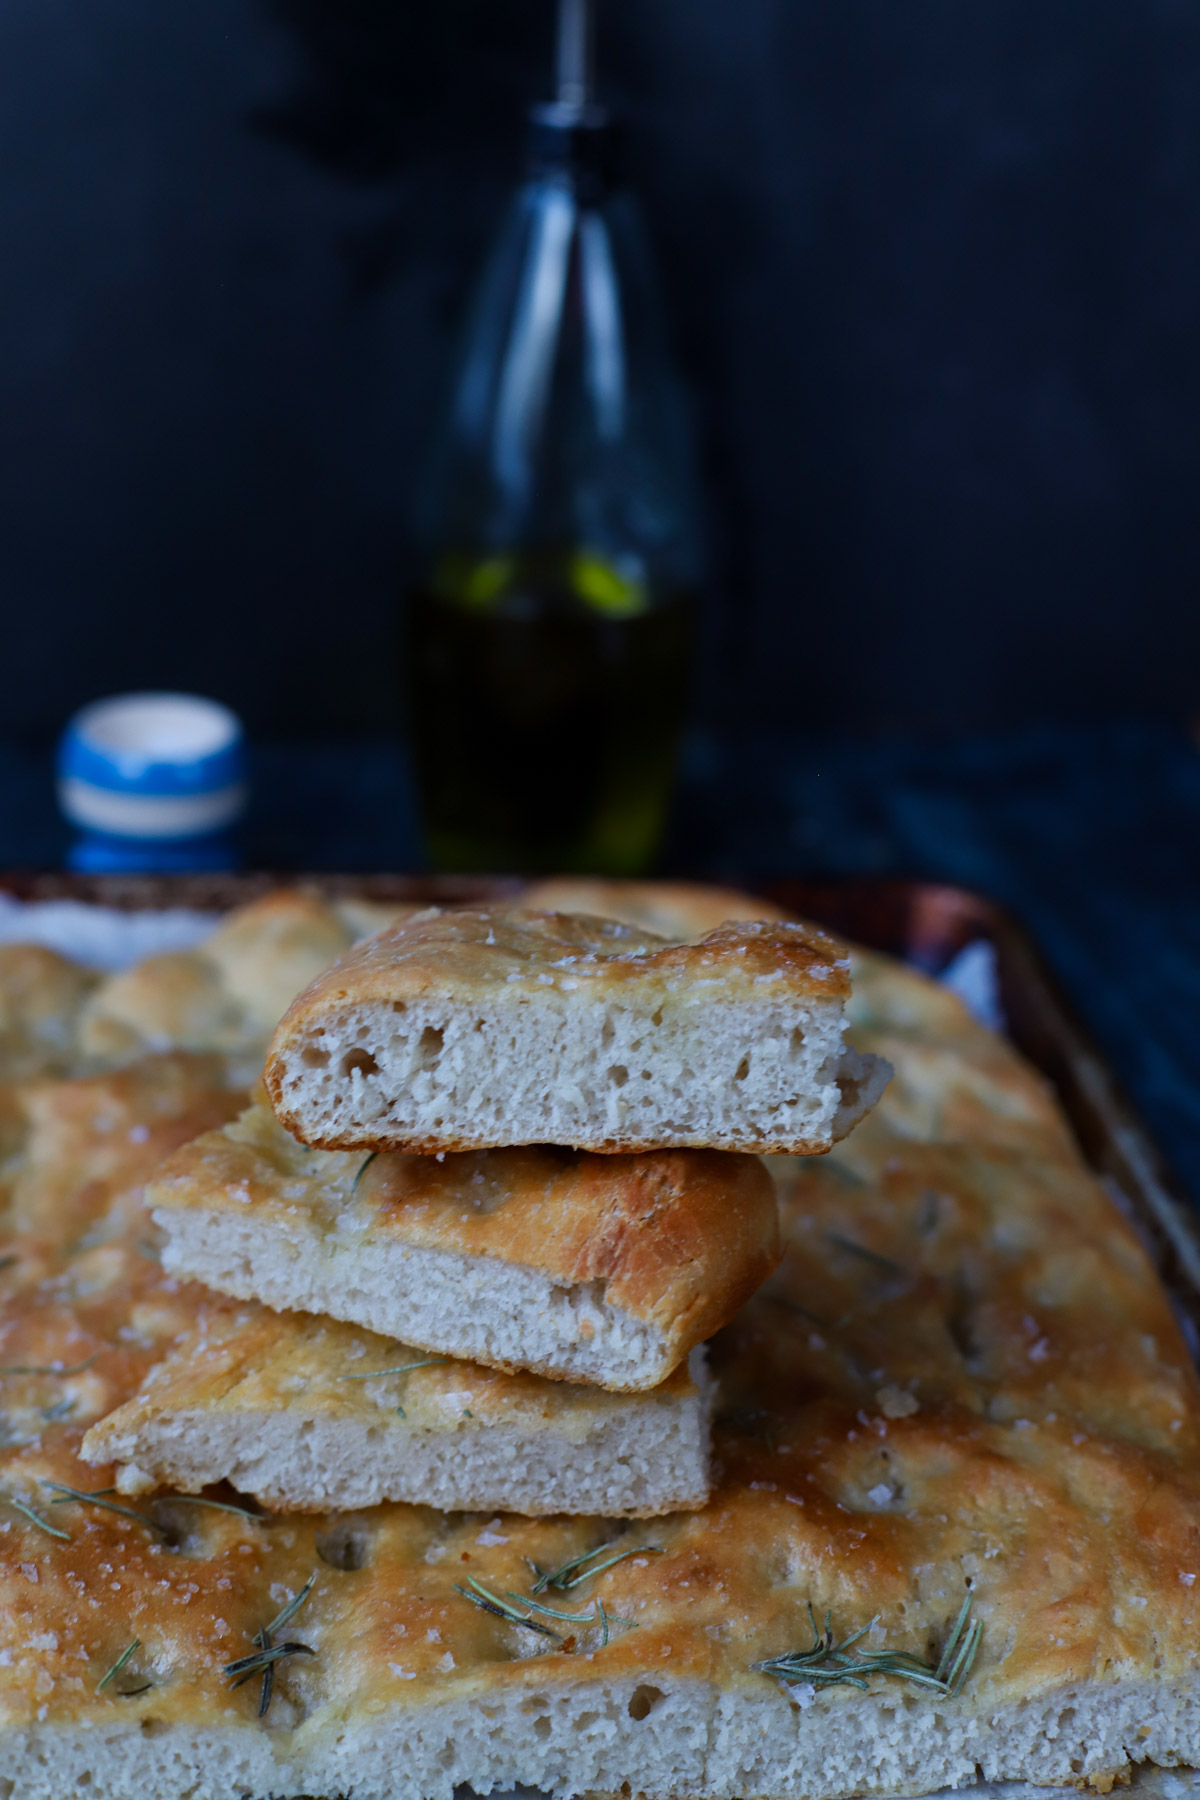
There are a few common reasons this can happen. Under-fermented dough is the biggest one, meaning that if the dough hasn’t had enough time to rest and build gas, the crumb will be tighter. Over-handling can also knock out air, so try to be gentle when stretching and dimpling. Finally, be generous with olive oil and make sure your oven is fully preheated; strong heat helps create that signature open, bubbly texture.
Yes! Focaccia is very forgiving and loves toppings. Delicate ingredients like herbs, thinly sliced onions, or tomatoes can go on right before baking. Heartier or moisture-heavy toppings like sausage or bigger veggies are best pre-cooked first so they don’t weigh the dough down or make it soggy. When in doubt, press toppings lightly into the dough after dimpling and drizzle with more olive oil before baking.
Related
Looking for other recipes like this? Try these:


Pairing
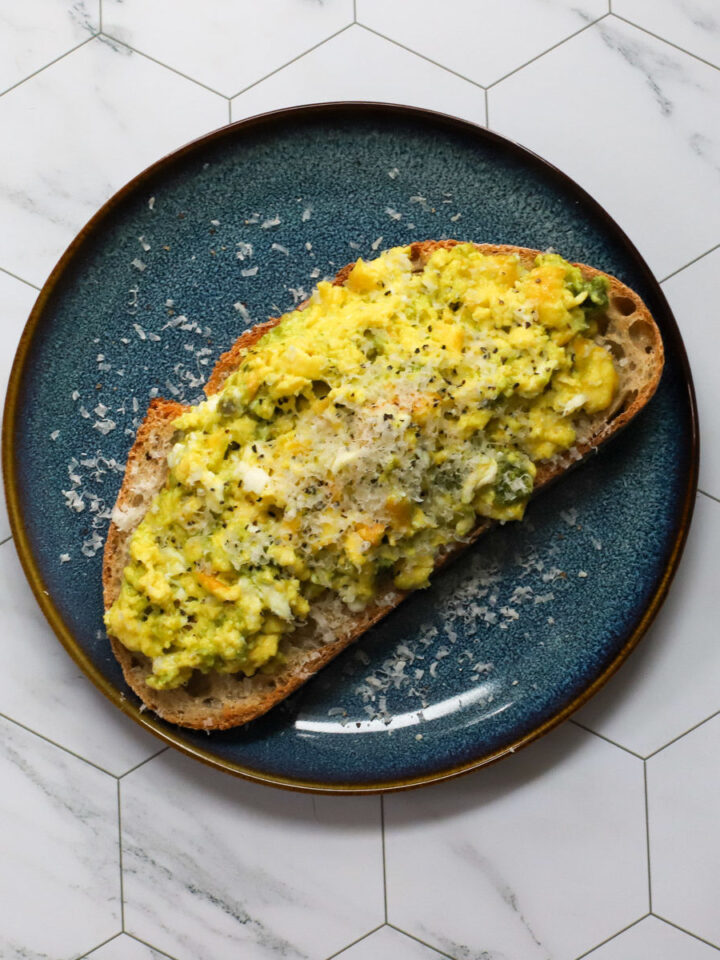
These are my favorite dishes to serve with sourdough discard focaccia:


📖 Recipe
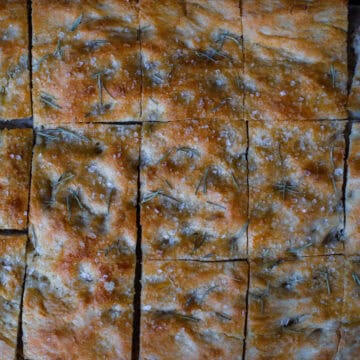
Sourdough Discard Focaccia
Equipment
Ingredients
- 1.5 cups warm water, ~110ºF (350g)
- 1 cup sourdough discard, unfed (300g)
- 2 teaspoon instant yeast (8g)
- 4 cups bread flour (550g)
- 1 tablespoon honey (22g)
- 1 tablespoon olive oil, for coating bowl (14g)
- ⅓ cup olive oil (72g)
- flakey sea salt for sprinkling before baking, around 1 Tbsp
Instructions
Mix the dough.
- In a large mixing bowl, whisk together the warm water, sourdough discard, instant yeast, and honey until smooth and well combined. Add the bread flour and salt and mix with a dough whisk or your hands until no dry spots remain. The dough will be sticky and shaggy.
Rest (autolyse).
- Cover the bowl and let the dough rest for 15 minutes. This brief rest allows the flour to hydrate and makes the dough easier to work with.
Stretch and folds.
- Perform 3 rounds of stretch and folds, spaced 15 minutes apart (over the next 45 minutes). For each round, grab one edge of the dough, stretch it up, and fold it over itself. Rotate the bowl and repeat 3–4 times per round until the dough tightens slightly.
First rise.
- Lightly oil the bowl with olive oil. Cover with a damp towel or lid and let the dough rise in a warm spot for 1 to 1½ hours, or until noticeably puffed and airy (it does not need to double).
- Prepare the pan.
- Pour 50 g olive oil into a 10×15-inch baking sheet or 9×13-inch casserole dish, making sure the bottom is well coated.
Shape and second rise.
- Transfer the dough to the oiled pan. Gently stretch it toward the corners and lightly dimple the surface with oiled fingers (don’t force it to fill the pan yet). Cover and let rise for 1–2 hours. This dough is very forgiving—longer is fine if your kitchen is cool.
Preheat the oven.
- Preheat the oven to 425°F, then reduce the temperature to 375°F just before baking.
Final dimple and season.
- Drizzle the remaining ~25 g olive oil over the dough. Dimple deeply with your fingertips, stretching gently as needed so the dough fills the pan. Sprinkle evenly with about 1 tablespoon flaky sea salt.
Bake.
- Bake for ~30 minutes, or until the focaccia is deeply golden on top with crisp edges.
Cool and serve.
- Let cool slightly in the pan, then slice and serve warm or at room temperature.
Notes
- This is a wet, sticky dough! Focaccia dough should feel loose and almost jiggly. Resist the urge to add more flour. That high hydration is what gives you those airy pockets and soft interior.
- Discard strength matters (but don’t overthink it). Unfed sourdough discard works perfectly here. If your discard is older or very tangy, you’ll get more flavor; fresher discard will be milder. Both are great.
- Warmth helps everything. A cozy kitchen goes a long way. If your space is cool, expect the rise to take longer — it's winter and I live in a drafty 125 year old house, so I erred on the longer side. This dough is forgiving and benefits from patience.
- Don’t rush the second rise. That long, relaxed rise in the pan is where focaccia magic happens. You’re looking for a puffy, bubbly surface that gently springs back when touched.
- Be generous with olive oil. The oil creates the signature crisp edges and rich flavor. Besides, it's heart healthy!
- Dimples = texture + flavor. Press firmly with your fingertips right before baking to create deep wells that trap olive oil and salt. Shallow dimples won’t give you the same result.
- Salt is not optional. Flaky sea salt on top isn’t just seasoning, it's texture and an additional pop!
- How to tell it’s done. Look for deep golden color on top and crisp edges pulling slightly away from the pan. Underbaked focaccia will be pale and soft.
- Serving & storage. Best the day it’s baked, but leftovers keep well wrapped at room temp for a day. Resist the urge to refrigerate, because I find it doesn't taste or feel right if you do that! Reheat in a hot oven to revive the crust. Alternatively, you can slice and freeze then reheat as above.


Comments
No Comments