

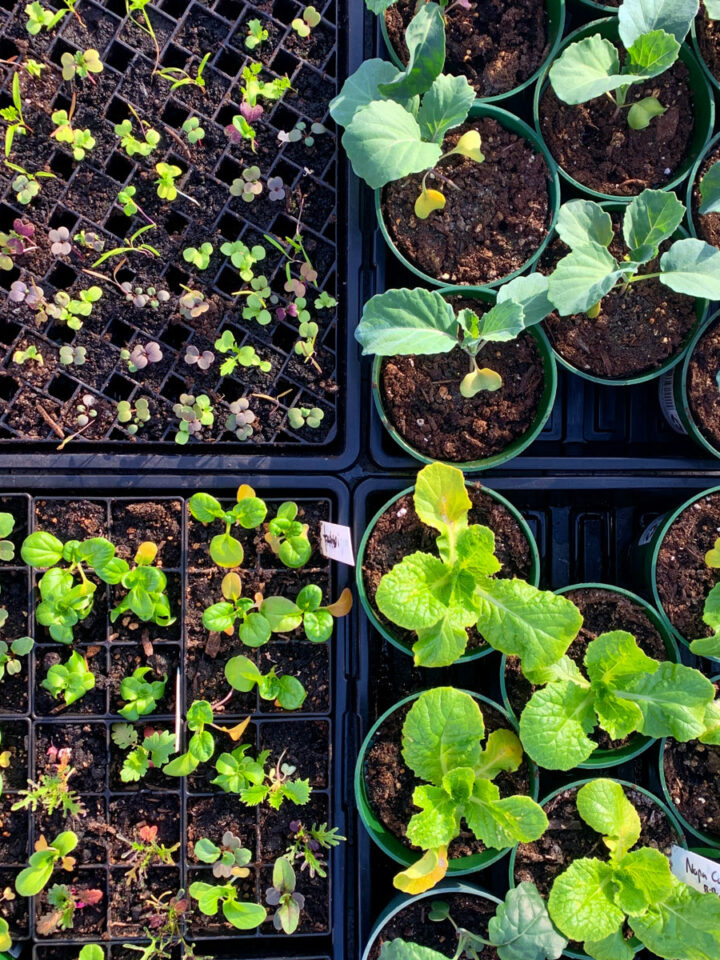
In our original 3'x6' raised bed, we set up a makeshift hoop house with metal bars bent into U shapes, and some lightweight garden netting hung over the top to keep animals out. And it worked like a charm! When it came time to build additional beds, however, we never quite got around to making sure all of the beds were covered in a similar fashion. It turned out alright, as we didn't really have any major issues last year (aside from general lack of space due to the 6" beds!), and I all but forgot about bed protection.
That is until last week, when a neighborhood stray cat decided that our beautiful, soft, luxurious soil in the raised beds looked like the perfect litter box. We awoke one morning to paw prints in all of the beds, cat poop in one of the empty beds, and soil flung everywhere. I snapped into action, and cut some extra wire that we used for the trellises in order to cover up the beds, hopefully deterring the phantom pooping cat. Then, I put out a call on Instagram asking for recommendations as to products for shade cover/to keep animals out of the beds.
I ended up choosing these two products to try and see which we prefer. (not affiliate links)
But the hoop houses! I love them. We made them so they're easily removable, but we'll likely keep them up all summer long as our area can get extra toasty despite being a mile inland from the ocean. We had quite a few days over 100 degrees last summer, and I know that the shade fabric will be a godsend for our plants come July/August!
How To Build Hoop Houses on Raised Garden Beds
Our beds are a combination of 4' wide and 3' wide, and almost 2 feet deep, so we decided to go with:
- 10' ½" PVC pipes
- ½" PVC pipe brackets
For beds longer than 4 feet, we installed three PVC pipe hoops, and only two on the 4 feet beds. A lot of instructions I found online also called for a support PVC pipe across the top, but we decided to forgo that in our current set up, as we wanted it to be slightly more modular and have the ability to easily remove the pipes if we want/need to.
Decide where you'll want your hoops, and using screws properly sized for your raised beds (aka not so long that they stick through and are hazardous!), start screwing the metal pipe brackets in, taking care to not screw them in too tightly. We did this on the first few and realized the PVC pipes weren't fitting, so we loosed the brackets up ever so slightly.
Insert the PVC pipes into the brackets, pushing the ends down into the soil to achieve whatever height you'd like. If you have shorter beds, you'll likely have to cut the PVC pipes, as I didn't see an option that was shorter than 10 feet long.
Tah-dah! The whole project took roughly an hour or so. I wanted to get this posted today, so I'll be posting a follow up photo of the final coverings, as right now we have a medley covering the pipes up. I'm really excited to have a nice shade solution for our toasty Southern California summers we've been having lately!

Comments
No Comments