
Spring is upon us and it's time to chat about starting seeds inside! I’ve been sitting on this for a while, because I wanted to make sure it’s approachable and not overwhelming for new gardeners, but also beefy enough to contain everything you need to feel confident starting seeds inside, even if it's your very first year. Truthfully, even after 10 years of gardening, I still have the thought every year, “What if none of this works and I spent all this time and nothing grows!??!!”
And the answer is…you can always buy starter plants, which is what you have maybe already done in the past! And any failure is a learning experience in disguise. Some of my hardest learned lessons have come from my biggest failures – like the spring that I transplanted hundreds of seedlings that I had lovingly tended for weeks indoors, only to have them mowed down by our neighborhood groundhog.
The lesson? I shouldn’t have hastily removed the previous’ owners junky, decrepit fence. Turns out, it actually was serving its purpose to deter critters. I took it down, mistakenly assuming that because we hadn’t had any critters, we didn’t have any. A full-blown adult tantrum/meltdown later…I picked myself up, started some more seeds, and filed that lesson away for later.
Now, if you fall into the category of complete newbie but you’re gung-ho about starting your own seeds, I will refer you to this post first: How to Start a Vegetable Garden as a Total Beginner. Read that, then come back here because this post will deal specifically with how to set up your indoor seed starting operation.
I’m going to tackle each of the elements about starting seeds inside separately below, then address some FAQs that I sourced from social media at the end. And as always, leave a comment if you have any questions about stuff I might have missed or that you’re still curious about.
Why Should I Try Starting Seeds Inside?
Starting your own seeds indoors is one of the best ways to have control over your garden from the very beginning. Here are some of the biggest benefits:
- Cost-Effective: A packet of seeds costs about the same as (or less than) a single starter plant, but contains dozens or even hundreds of seeds.
- Access to Unique Varieties: Garden centers typically carry a limited selection of plants. When you start seeds yourself, you can grow rare heirloom tomatoes, specialty peppers, more lettuce varieties than you would ever see in a store, interesting root vegetables, or any variety that piques your interest. For my favorite seed companies check out this blog post.
- Stronger, Healthier Plants: When you start your own seeds, you control the growing conditions, ensuring plants are healthy, hardy, and ready for the season.
- Extends the Growing Season: By starting seeds indoors, you give plants a head start before the outdoor growing season even begins.
Essential Supplies for Starting Seeds Inside
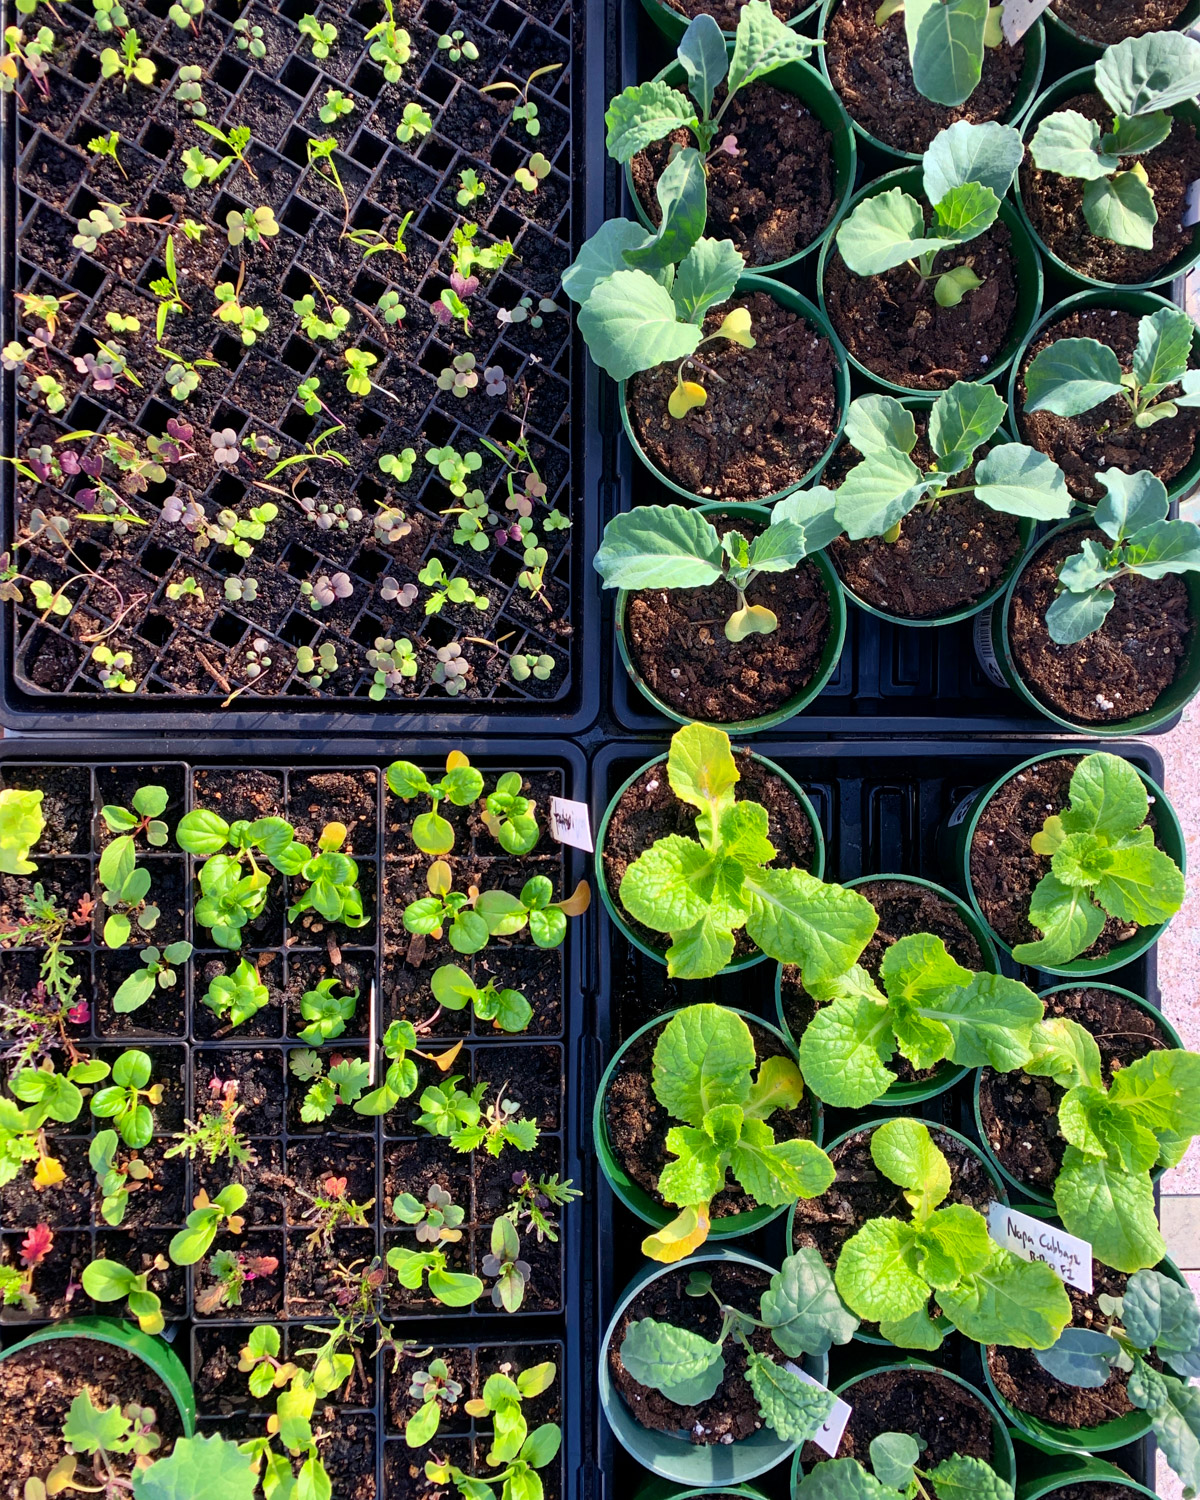
- Seed trays, pots, or soil blocks. These heavy-duty 1020 trays are my favorite, and I use a combination of Winstrip air-pruning trays and Epic Gardening 4 and 6 cell seed starting trays. I know people also love soil blocking, but I haven't tried it yet — it's on my 2026 garden plan, though.
- Humidity domes. I like these because you can adjust how much ventilation to allow. Once your seedlings sprout, remove the dome. I’ve also heard of people using saran wrap poked with holes for ventilation and flipping it over once a day, if you don’t want the upfront investment of humidity domes. I only ever have a max of 10 trays planted at once, so if you are planting fewer than that you can get by with only a couple domes.
- Sterile seed-starting mix. A soilless mix can help prevent disease, and seed starting mixes are lighter and fluffier than potting soil – which is just what tiny seeds need. I personally use Coast of Maine Sprout Island Blend seed starter but have used random inexpensive mixes in the past. Honestly whatever you have available and can get your hands on. I've also included a DIY seed starting mix below that I have used in the past and had success with.
- Heat mats. Many seeds need temperatures between 70-80°F to germinate. Some seeds do fine around 60°F, but it may be a slower process. Our basement hovers around 60°F so I start mine on heating mats. This one keeps soil at the perfect temperature – I set it to 75°F and it works its magic. And when there is a tiny bit of space available, one of our cats loves to sleep on it!
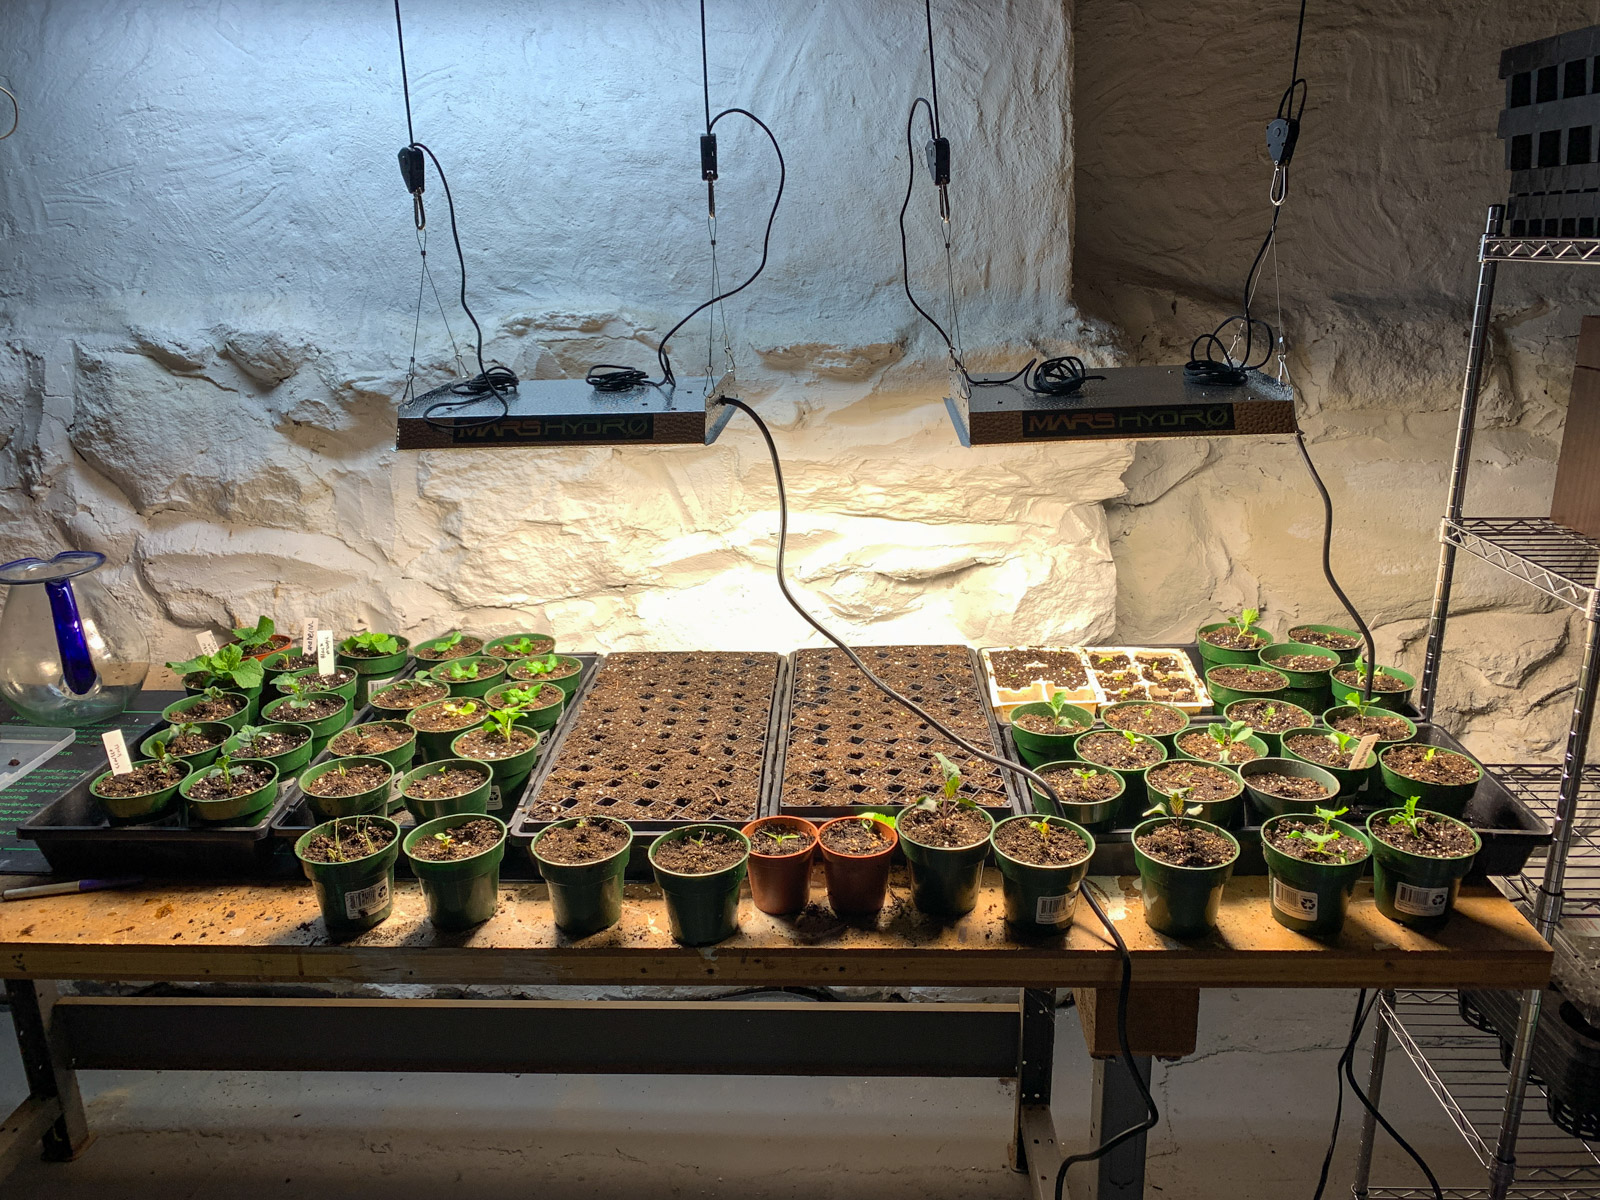
- Grow lights I got so overwhelmed with lights at first, but you really just need full-spectrum white-colored lights, preferably LED, and over about 5,000K Kelvin. These can be daisy-chained together, and I currently use a mix of 4 of those and 4 of these higher efficiency ones. A real medley!
- A timer is useful so you don’t have to manually turn grow lights off and on. We have a few of these that we use, after one too many times of me saying, "DOH!!!" upon realizing I left the lights on overnight. Plants need a break — too much light is not good for them. We want to simulate the day/night cycle.
- A fan. We have a cheapie little oscillating fan that I run over our seed starting area to move the air around and help strengthen the stems of the young seedlings. They’ve got to deal with wind and elements once they’re planted out, so it helps toughen them up a bit.
- Labels to keep track of seed varieties. This is my downfall every single year, because I start off well but then get ahead of myself when potting up. I grow 20+ tomato varieties, so it's a guessing game come transplanting time!
- And lastly…seeds! Check out The Ultimate List of Seed Companies As Recommended by Real Gardeners for my favorite places, along with tons of other companies that you may not be familiar with!
Step-by-Step Guide to Starting Seeds Inside
Step 1: Choosing the Right Seeds
- Determine your last frost date. Find yours here but bear in mind the date for last frost is only an average. Talk to someone at your local garden center for more insight into your particular location. I use May 20 as our last frost date, despite Farmers Almanac saying it’s April 29 for my zip code. Seed packets will say something like "sow seeds indoors 8 weeks before last frost." In my Google calendar, I have weekly events starting with "12 weeks before last frost" so I can keep an eye on timing.
- Use a planting schedule calculator like this one from Johnny’s Seeds. Print it, use it, love it. It's a lifeline for me!
- Some seeds are best started indoors (like tomatoes, peppers, and herbs), while others (like carrots and beans) do best when directly sown outside. When in doubt, defer to the instructions on your packet. Also you can look into winter sowing — some seeds do just fine with cold temperatures and sunlight. This saves you valuable grow light real estate indoors and is a fun project to do with kids.
Step 2: Preparing the Soil and Containers
- Use a sterile, soilless mix to prevent disease. Potting soil is too heavy for little seeds!
- I’ve also made a DIY mix in the past with bulk peat moss, vermiculite, and perlite.
- 1 part perlite + 1 part vermiculite + 1 part meat moss
- Keep in mind that peat moss is a highly controversial material, and some people prefer not to use it. For more reading on that check out this informative piece.
- 1 part perlite + 1 part vermiculite + 1 part meat moss
- Moisten the mix before filling your trays or pots. You want it to clump together but not be able to wring tons of water out.
- Fill containers – be careful not to compress the seed starting mix, you want it light and fluffy. I tap the containers on the table to shake the soil into place, and then level it off like you would a cup of flour.
Step 3: Planting the Seeds
- Plant seeds at the recommended depth (usually twice the seed’s width, but refer to the seed packet for specifics).
- Make sure to not firmly press the soil over the seed. You want the seed to be in contact with the soil, but not compacted! A light press will do just fine.
- Cover with a humidity dome to retain moisture, taking care to remove once you see some of the seeds beginning to germinate.
- Place trays on heat mats to encourage germination.
- As much as possible, try grouping seeds together with a similar germination time. Some seeds are quick to sprout, while others can take upwards of 10 days. If you mix them together, you’ll have seedlings coming up that need grow lights, while other seeds waiting to germinate still need to be on a heat mat with a humidity dome. I’ve made this mistake a few times and it can get pretty annoying.
- Plants that can be directly sown outdoors include arugula, beets, carrots, corn, cucumbers, melons, peas, squash, and most root vegetables.
Step 4: Providing Light
- Grow lights are essential if you don’t have a greenhouse or sunny south-facing window.
- I use timers to keep our lights on 14-16 hours a day, because I can not reliably remember to turn them off and on.
- Lighting can be kind of complicated and overwhelmed me at first. If you’re using fluorescent lights, they need to be close to the plants – like 2-4”, as they are not as strong as LED lights.
- Look specifically for full spectrum shop lights. They have fancy schmancy indoor grow lights they are by no means necessary. 4’ lights are best, and you can plan on 2’ of light per tray.
- For LED, there are different wattages you can buy.
- Low-wattage LEDs (under 50W): 6–12 inches
- High-powered LEDs (100W+): 12–24 inches
- For example, I have 4 of these high-powered LED lights (150W) and love them because I can cover a lot of trays, as they need to be about 20” above.
- I also have 4 of these 42W LED lights and keep them around 4” away from my seedlings.
- When in doubt, look at the recommendations from the manufacturer – they will usually come with specifics on what distance to position them away from your plants.
- Signs of Not Enough Light
- Leggy growth – If your seedlings have long, thin stems and seem to be stretching toward the light, they need more of it.
- Slow growth – If your seedlings seem to be stuck in time, insufficient light could be the culprit.
- Pale green or yellow leaves – A lack of light means they aren’t producing enough chlorophyll to stay vibrant and healthy.
- Leaves dropping off – Without adequate light, seedlings can become too weak to hold onto their leaves.
- How to Fix It: If you notice any of these signs, increase the duration your grow lights are on (aim for 14–16 hours per day) or move the lights closer to the seedlings.
- Signs of Too Much Light
- Burnt or scorched leaves
- Discolored or papery-textured leaves
- How to Fix It: Too little light is usually the culprit, but if you notice any of these simply increase the distance between your lights and your plants.
Step 5: Just Add Water
- Water gently using a spray bottle to mist planted seeds then switch to bottom watering once they germinate to avoid disturbing delicate roots.
- Be careful to not overwater as excessive moisture can saturate the soil, reducing oxygen availability to plant roots and potentially leading to root rot.
- Bottom watering encourages roots to grow down and reach towards the water instead of hanging at the surface. It can also help prevent damping off, which is a fungal disease that causes seedlings to droop and die suddenly.
Step 6: Thinning and Fertilizing
- Once seedlings develop a few leaves, thin them by snipping weaker ones at the base. I have such a hard time doing this! But too many seedlings in a cell will result in them competing for nutrients and water. Some seedlings I never thin, but tease apart at the roots when I pot up, like tomatoes.
- You can start fertilizing when the first true leaves appear, using a 25% - 50% diluted organic fertilizer. Err on the side of less and see how your plants respond.
- I like to use a fish and seaweed fertilizer and have both this and this in rotation. Apply 25%-50% strength every 1-2 weeks to encourage strong, healthy growth. Caution: these fertilizers can be very stinky!
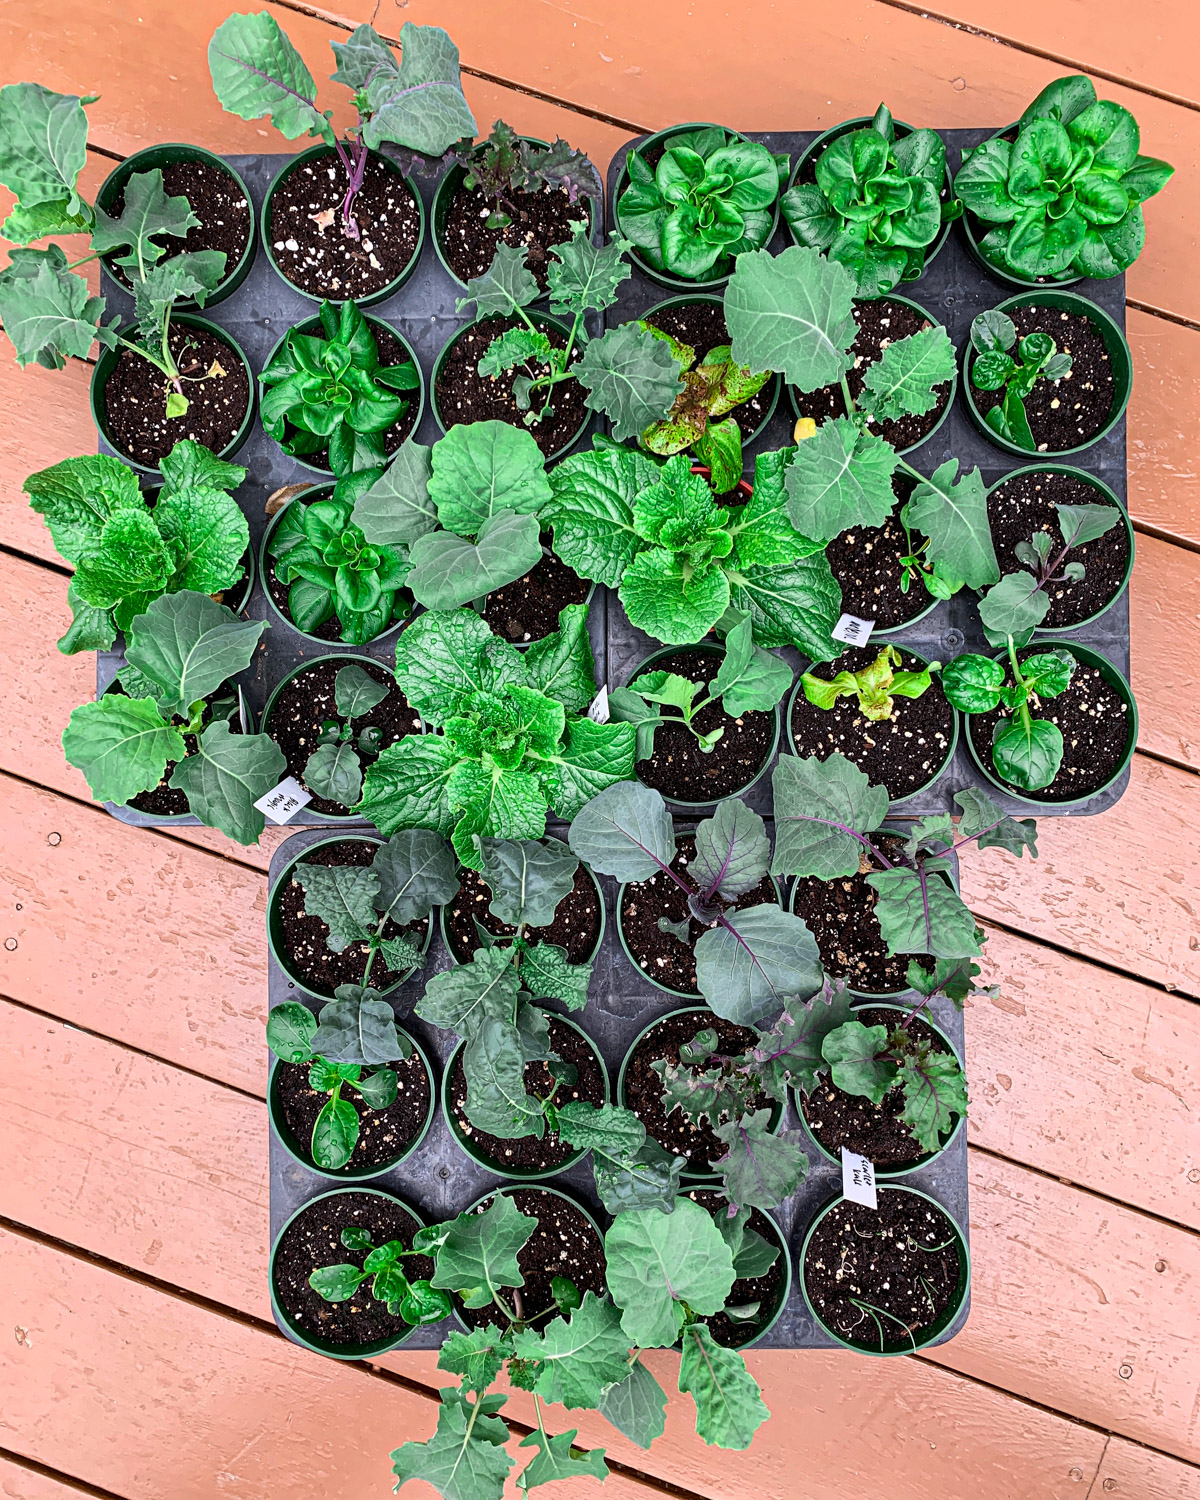
Step 7: Potting Up to Larger Containers
- Once you notice a few sets of leaves and some roots starting to poke through the bottom of your seed trays, it might be time to pot seedlings up if you can't plant outside yet.
- Move seedlings into larger containers, using potting soil as the plants will enjoy the extra nutrients.
- Always lift seedlings by the root ball, using a spoon or plant tag for support if needed. Never grab them by the stem! It's delicate and you can easily crush them.
- If you need to steady the plant, gently hold a leaf instead of the stem. A leaf can regrow, but damaging the stem will likely ruin the entire plant.
- Bigger containers take up more room so you'll have to adjust the height of your grow lights accordingly.
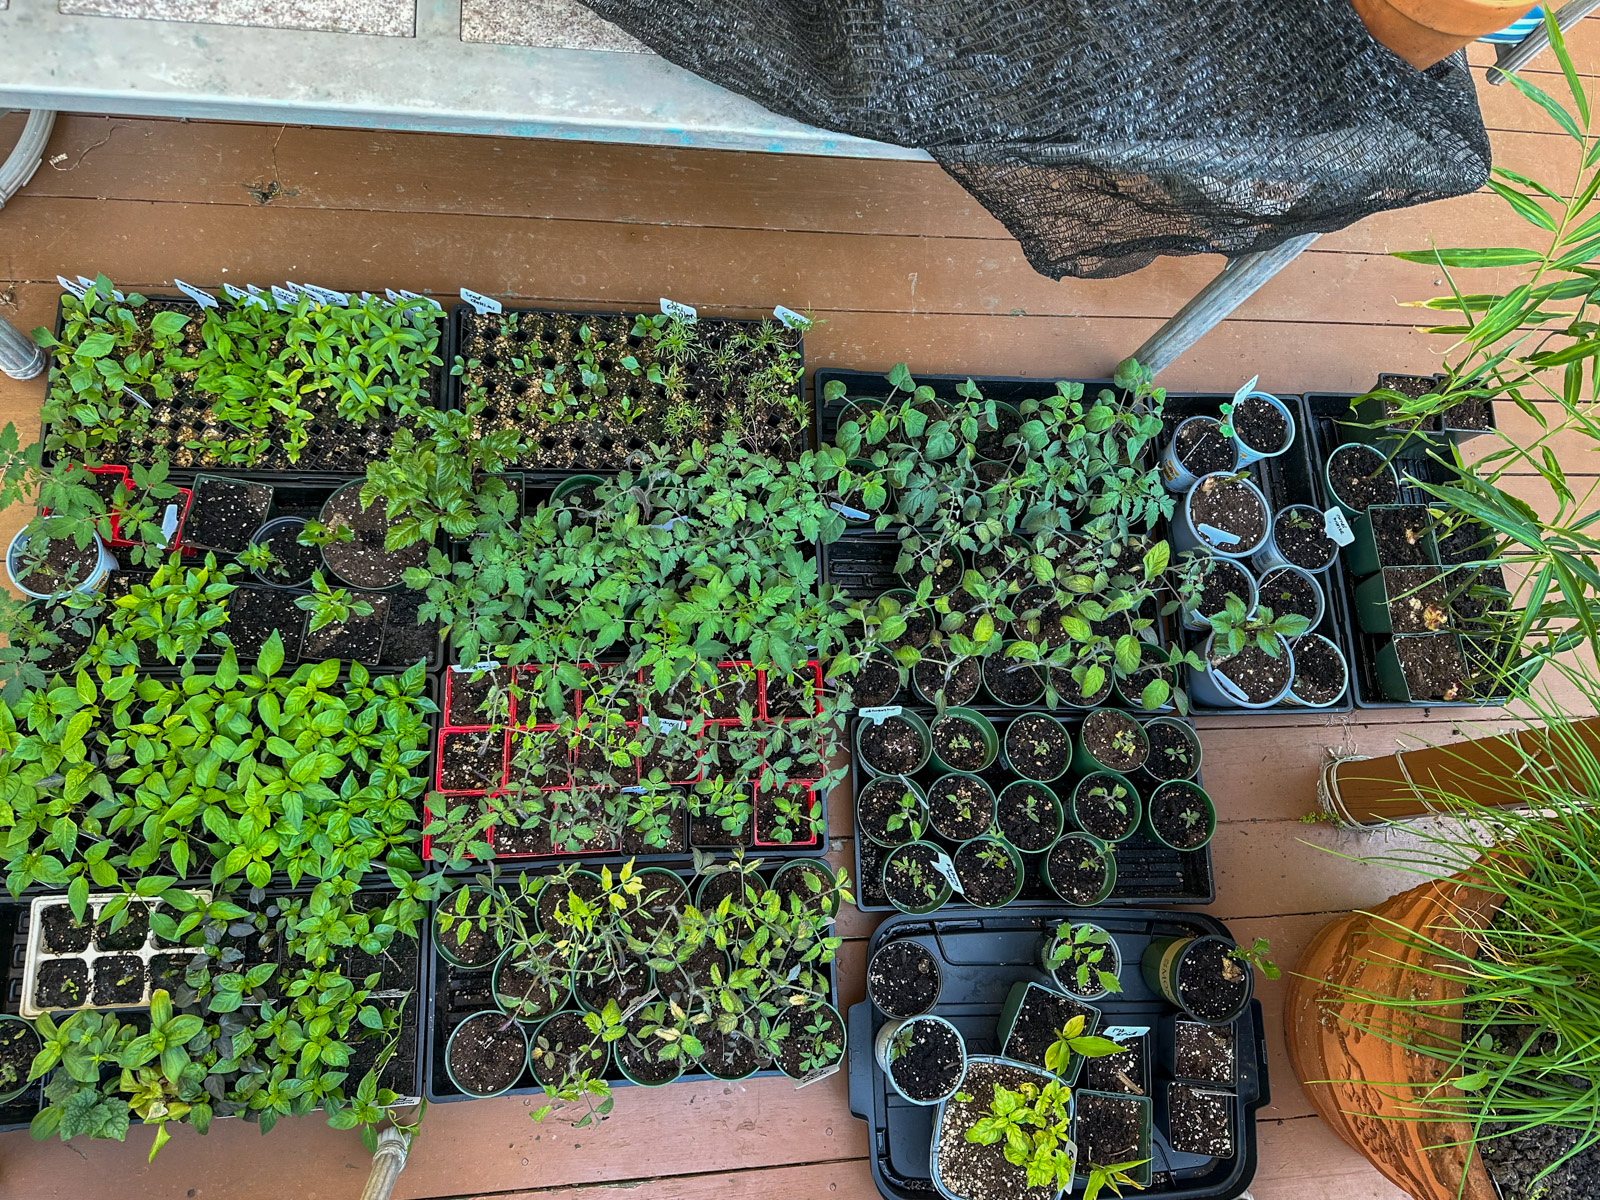
Step 8: Hardening Off
- About two weeks before transplanting, gradually expose seedlings to outdoor conditions for a few hours per day, increasing over time.
- It is a pain to schlep them out and in for a few days, but this is an important step. Even a cloudy day outside is way more intense for seedlings than grow lights! Give them a strong start in the garden by taking the time to harden them off.
- This process typically takes 7–10 days, depending on weather conditions and plant sensitivity.
- Day 1–2
- Place seedlings in a shady, sheltered area outdoors for 1–2 hours.
- Protect them from direct sunlight, wind, and rain.
- Bring them back inside.
- Day 3–4
- Increase outdoor time to 3–4 hours.
- Introduce them to dappled sunlight (morning sun or filtered light is best, like through a shade cloth).
- Keep them out of harsh midday sun and strong wind.
- Day 5–6
- Gradually expose them to direct morning sunlight for 4–6 hours.
- Reduce protection from wind and other elements.
- Water as needed—don’t let them dry out.
- Day 7–8
- Extend outdoor time to 8 hours.
- Increase exposure to direct sunlight, avoiding only the hottest part of the afternoon.
- Start reducing the time they spend indoors at night if temperatures are mild (above 50°F).
- Day 9–10
- Keep seedlings outdoors for full days, including some exposure to midday sun.
- If nighttime temperatures remain above 50°F, consider leaving them outside overnight.
- Protect from unexpected frost or extreme weather.
- Day 1–2
Final Step: Transplanting
- Choose a cloudy day or late afternoon to transplant seedlings into the garden to reduce transplant shock.
- Transplant into the garden once the soil has warmed and there’s no risk of frost*
- At first, they might look a little wilted but they will bounce back!
- Water thoroughly after planting.
- Continue monitoring for sun scald or stress and provide temporary shade if needed.
- *some cold-hardy plants may be successfully transplanted 2-4 weeks before your last frost date. I personally do this with kale, cabbage, spinach, Swiss chard, parsley, lettuce, and onions I have started inside. Other plants that can handle this but that I don't typically grow: broccoli, cauliflower, Brussels sprouts, leeks, and celery.
FAQs about Starting Seeds Inside
Q: My seedlings are leggy! What went wrong? They likely didn’t get enough light or were too far from the grow lights! Drop them down and see if that helps.
Q: What soil should I use? Coconut coir? Peat? A soilless mix is best. Many seed-starting mixes contain peat moss or coconut coir, vermiculite, and perlite. Avoid heavy potting soil, as it can be too dense for small seeds, and potentially have pathogens that can harm seedlings.
Q: How do I harden off seedlings while working a full-time job? A: Start them outdoors in a sheltered spot before you leave for work and bring them in when you get home. Use an adjustable shade cover to protect them.
Q: How early should I start seeds? A: It depends on the crop! Check your last frost date and use a seed-starting calculator for exact timing. This can feel overwhelming, but I promise it gets easier every year.
Q: Can I use something other than seed trays? Of course! I invested in heavy duty trays because I wanted to use them for decades, but have also started seeds in egg shell cartons, milk jugs, paper pots, plastic cups, folded newspaper pots…the sky is the limit, really. You can get creative and use what you have – just make sure there is adequate drainage (poke some holes in the bottom!) and I would recommend not planting any biodegradable containers into the ground. I’ve done that in the past with newspaper pots and found the plants struggled a bit. Just peel away and toss in the compost pile!
Q: What about scarification and stratification? Some seeds have built-in dormancy mechanisms that prevent them from sprouting too soon in nature. To improve germination, certain seeds need a little extra work from you.
- Stratification mimics winter conditions by exposing seeds to a period of cold, moist storage before planting. This is essential for many perennials and native plants that require a "chilling period" to break dormancy. To stratify seeds, place them in a damp paper towel or a container then refrigerate them for a few weeks (exact timing depends on the species). Plants like milkweed, lavender, poppies and many fruit trees need stratification to sprout successfully.
- Scarification is the process of breaking down a seed’s tough outer coating to allow moisture in. This mimics natural wear and tear, like passing through an animal’s digestive system or freezing and thawing in the wild. You can scarify seeds by gently nicking them with a knife (I actually use a nail file), rubbing them with sandpaper, or soaking them in warm water overnight. Common seeds that benefit from scarification include nasturtiums, morning glories, and sweet peas.
Q: Should I fertilize my seedlings? Seedlings don’t need fertilizer right away because they get initial nutrients from their seed. Once they develop their first true leaves (not just the first two seed leaves/cotyledons, but the next set of actual leaves), you can start feeding them with a diluted liquid fertilizer (about ¼ strength). Personally, I don’t fertilize until I pot them up though! I use a fish emulsion or seaweed fertilizer, but warning: they STINK!! And are weirdly appealing to dogs, so keep your pup away unless you want your plants destroyed. Ask me how I know 🙂 Feed them once a week to keep them healthy but avoid over-fertilizing, which can lead to leggy growth or nutrient imbalances.
PHEW! I honestly feel as though each individual section could be its own blog post, because there is so much nuance with every step, but I didn't want to overwhelm anyone. When I first started gardening, it felt like drinking from a fire hose trying to make sense of all the confusing steps that go into starting a vegetable garden.
It's my sincere hope that this post helps empower you to try starting seeds inside — my mantra is that plants want to grow! It's not rocket science, and experience is the best teacher. If this was helpful or if you have any additional questions, please leave a comment and I will try my best to help.
Remember, I'm not an expert, and you can always look to your local college's agricultural extension program, or ask around at your local nursery. It's been my experience that gardeners are a most helpful bunch and always happy to chat and assist if they can.
Happy growing!


Comments
No Comments