
Garlic is one of the most rewarding things you can tuck into your garden — the flavor far surpasses anything store bought, and if you plan it right, you can grow a years' supply and have enough left over to plant the following year. Plant it once in the fall, tuck it under a blanket of mulch, forget about it all winter, and by midsummer you’ll be pulling up big, beautiful bulbs. It’s the ultimate set-it-and-forget-it crop. Read on, and learn all about how to grow garlic!
Here’s the gist:
- Break a head of garlic apart into cloves.
- Plant each clove pointy-side up, about 2 inches deep and 6 inches apart.
- Mulch heavily with straw or leaves to protect it over winter.
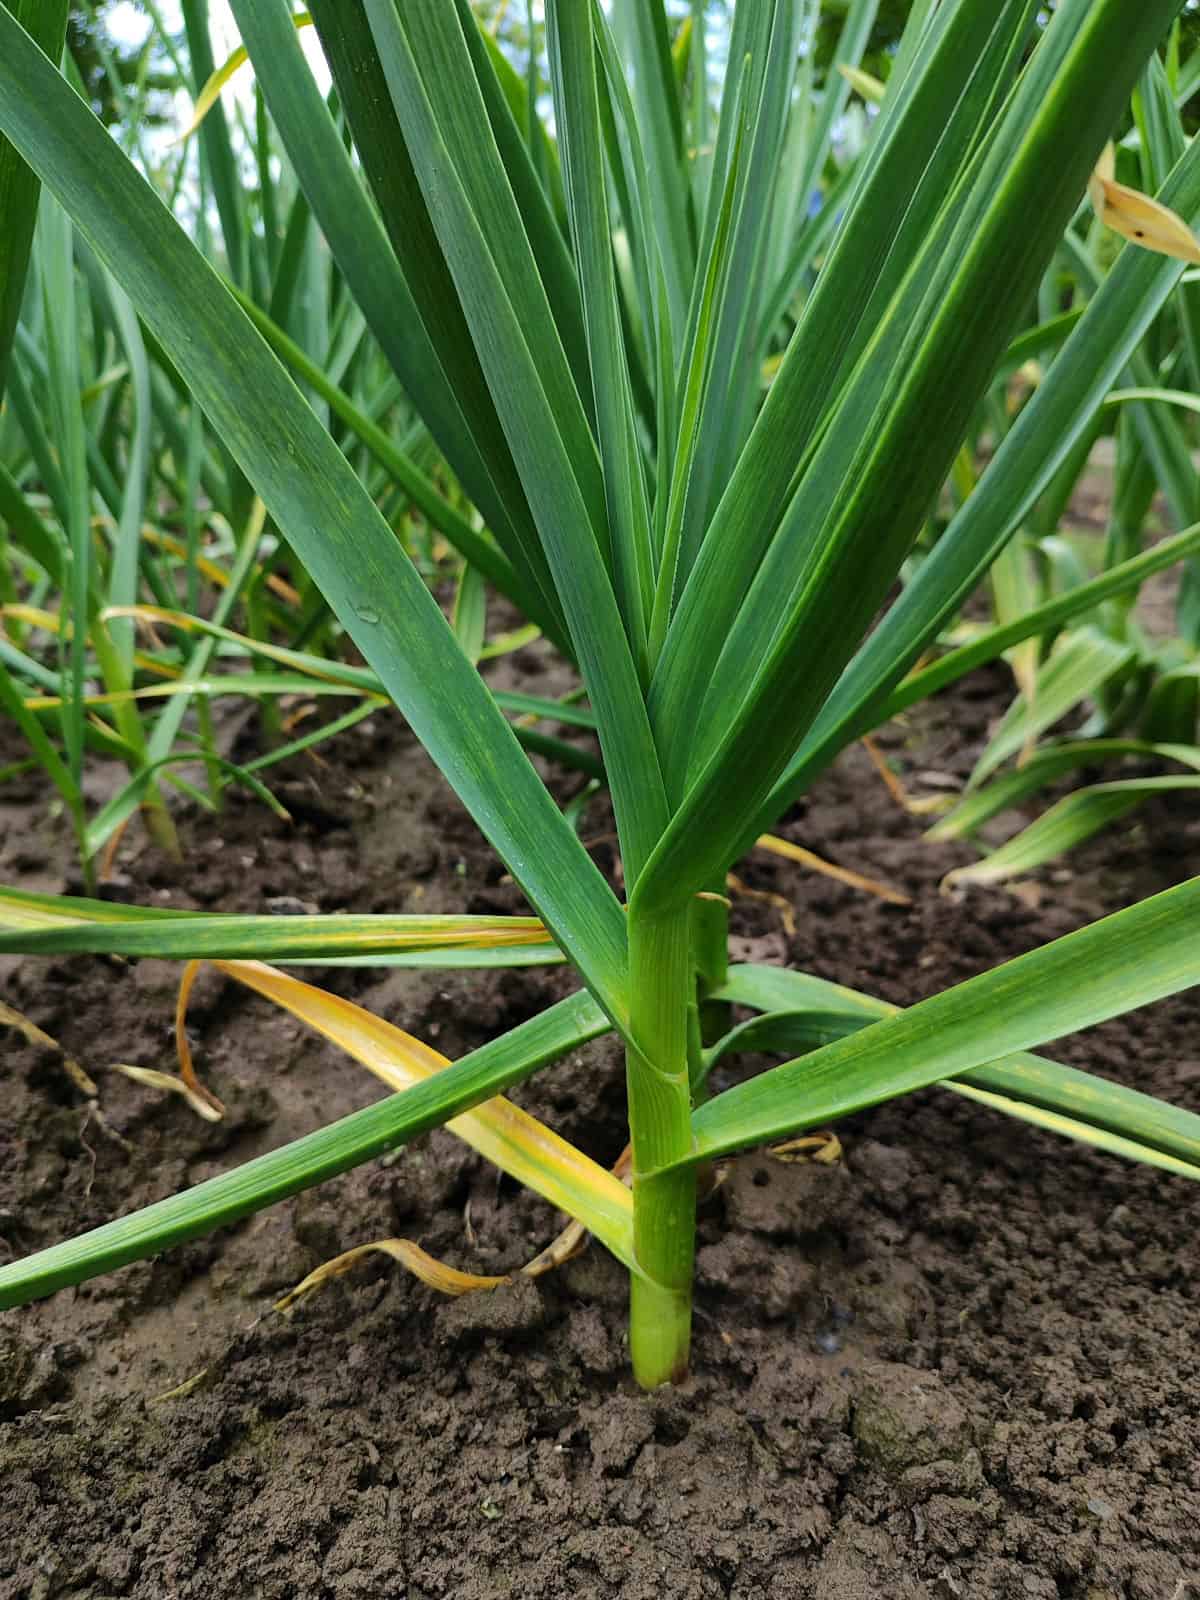
- In spring, you’ll see bright green shoots pushing up through the mulch.
- If it's a hardneck variety, you'll want to cut off the curly garlic scapes (but save and eat them!) to ensure proper bulb development.
- Harvest when the outer leaves of the plant start getting brown and crispy, cure in a cool, dry spot for a couple weeks, and tah-dah! Your own personal garlic stash.
Of course, there is a lot more nuance that goes into growing it, but at the end of the day I believe it's one of the best entry plants for someone to grow — and bonus points, if you have an HOA, you can grow it in the front yard because it can blend in well with ornamental landscaping (provided you're not treating the area with any herbicides).
Choosing Garlic Varieties
There are two main types of garlic:
- Hardneck garlic – Cold-hardy, produces curly garlic scapes in early summer, and has complex, bold flavors. Bulbs don’t store as long (3–5 months), but the taste is unbeatable.
- Softneck garlic – Common in grocery stores, stores for up to a year, and grows well in warmer climates. These are the braiding garlics with multiple layers of cloves.
For New England and other northern regions, I recommend hardneck varieties — my personal favorites are Chesnok Red and Music. Because of the slightly shorter storage time, I peel and freeze hundreds of whole cloves to easily grab throughout the winter and spring. That way, I don't experience the heartbreak of moldy garlic. While that's only an annoyance with store-bought, it can be devastating when it's your personal homegrown stash! I personally don't like to risk it.
When to Plant Garlic
Garlic is planted in the fall, a few weeks before your ground freezes. In my Massachusetts Zone 6a garden, that means late October to early November. The cloves need time to settle in and develop roots before winter, then they’ll sleep under a layer of mulch until spring. Keep an eye on your local forecast, and when in doubt, ask a local nursery employee, as they're well-versed in your particular climate. I've planted mine as early as Halloween, and as late as Thanksgiving depending on A) the kind of fall weather we've been having and B) how much I have my life together. When I had a newborn a few years ago, it didn't happen until a few days after Thanksgiving!
How to Plant Garlic
- Prep your bed. Garlic likes rich, well-drained soil in full sun with plenty of compost mixed in — I sprinkle in some fresh compost then gently turn it into the beds with a pitchfork before planting. Keep in mind that garlic will be in your garden from fall until the following summer, so make sure it's not somewhere you want to plant anything else. I like to dedicate one full bed to garlic, and then plant them around the borders of some other beds to repel pests.
- Dig your holes. I have a nifty bulb planter that my dad gifted me a few years ago that makes short work of prepping the holes. If you don't have one, a hori hori knife or trowel will work, but my main tip is to dig all of the holes first and space them out 4" - 6" apart.
- Break apart the bulb. Separate the cloves, keeping the papery skins intact. Each clove will grow into a full bulb!
- Plant cloves pointy side up. Tuck each clove about 2 inches deep into the holes, making sure that the pointy side of the clove is facing up, and cover them up as you go.
- Mulch generously. Cover with 3–6 inches of shredded leaves, or another natural mulch. This protects the garlic over winter and helps suppress weeds.
Garlic Care Through the Seasons
Winter: Leave it alone — the cloves are resting under mulch and doing their thing underground. Cozy up with a cup of coffee and flip through seed catalogs!
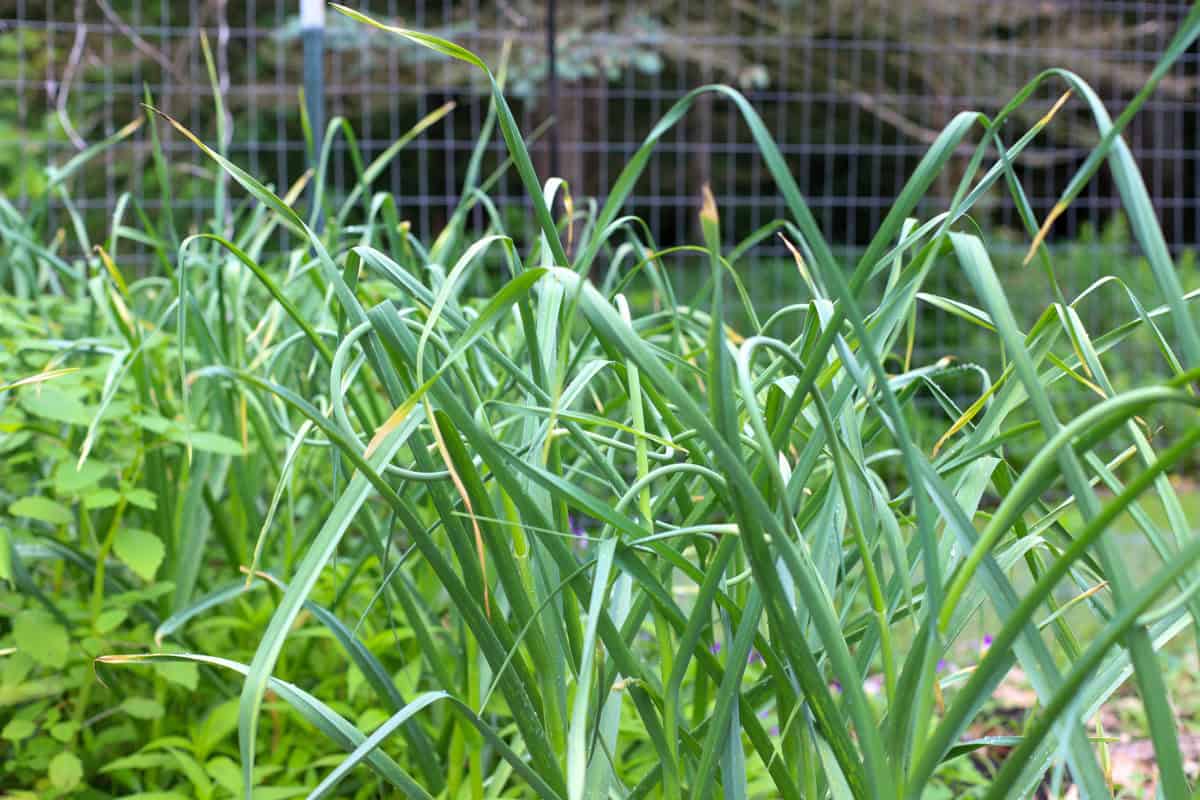
Spring: Shoots will emerge as the ground warms. Water if the season is dry, and keep weeds down so garlic doesn’t have to compete. If I've mulched really thickly, I'll gently pull some of the chopped leaves back to allow the greens to better poke through, typically around beginning of May.
Early summer: Hardneck varieties will send up curly flower stems called scapes. Snip them off and use them in stir-fries, pesto, or eggs, or you could even pickle them! Removing the scapes helps the plant send energy to the bulbs, allowing them to grow bigger.
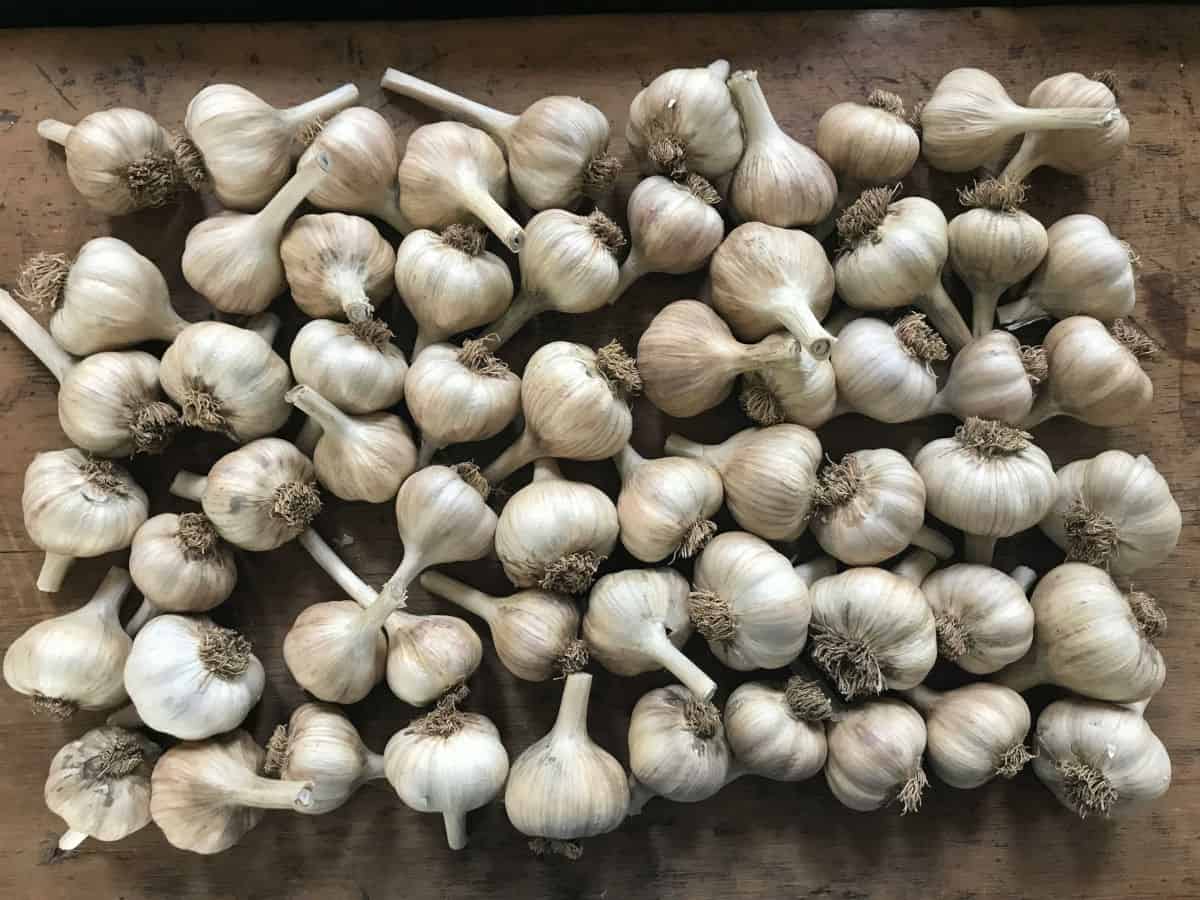
Harvesting and Storing Garlic
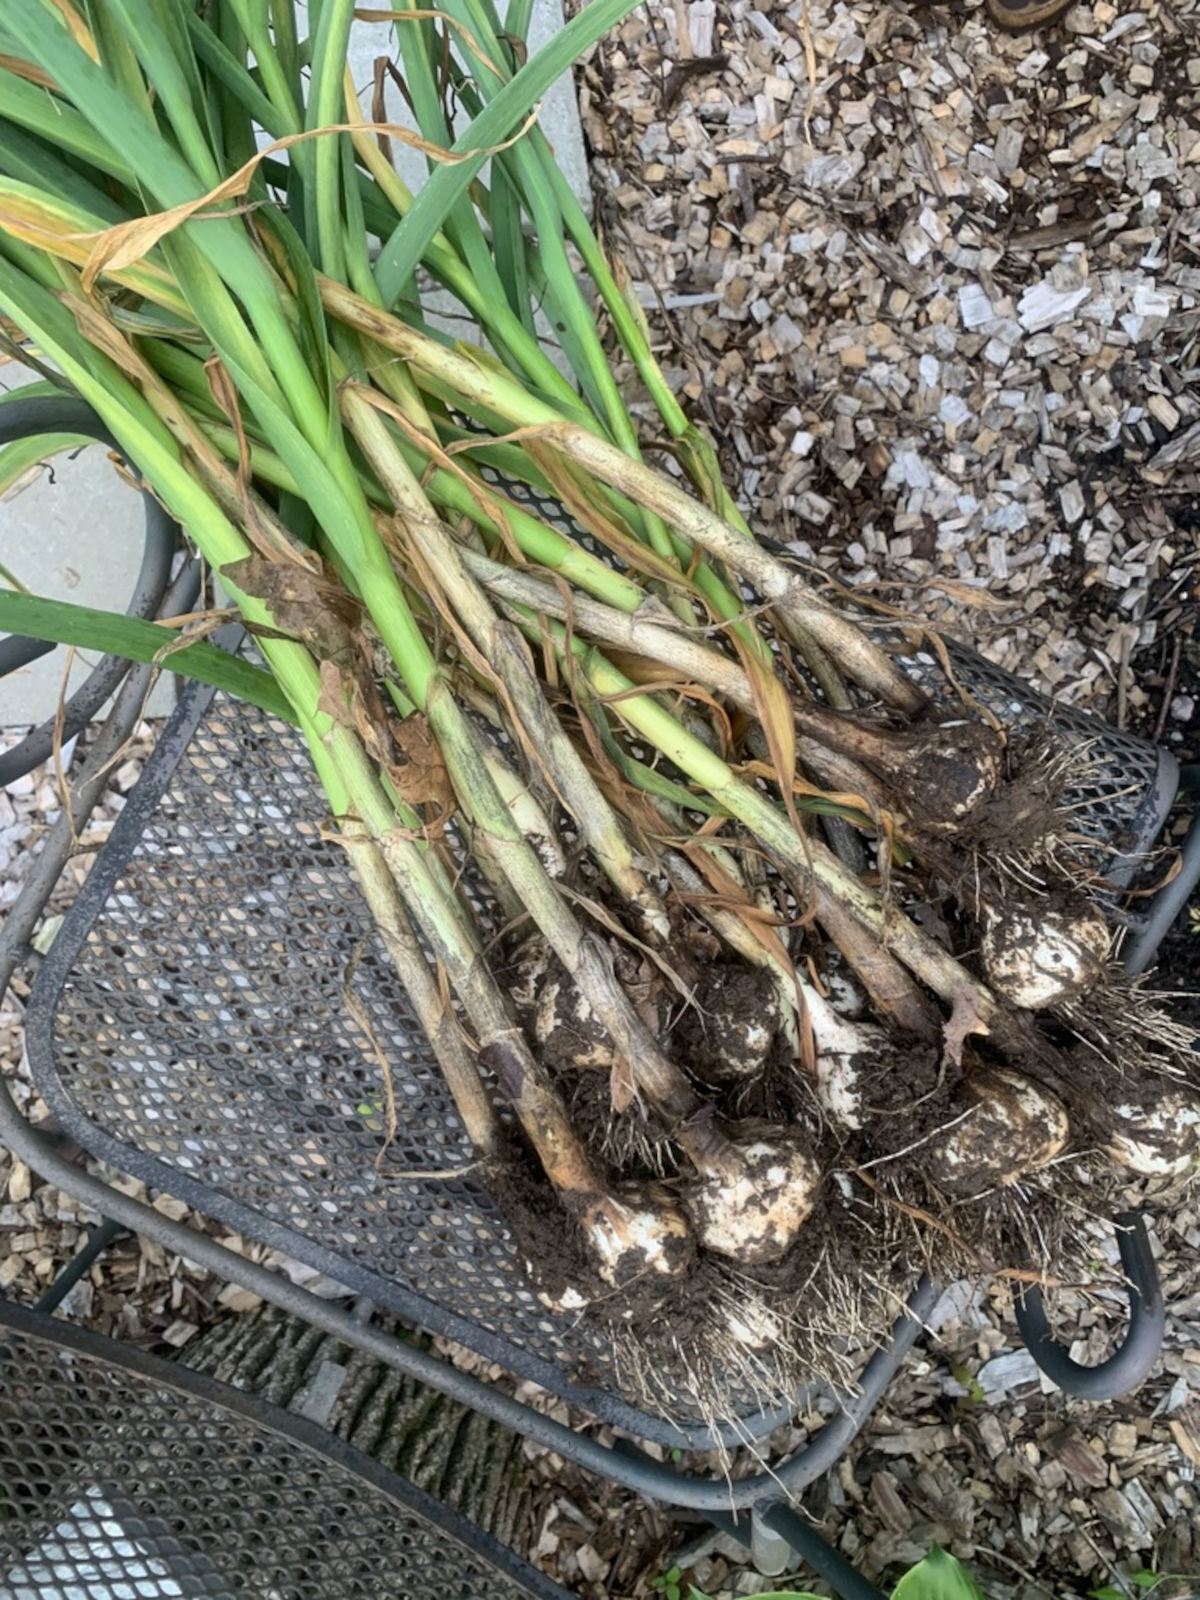
Once the outer leaves of the plant have turned yellow/brown, and the plant starts to slump over, that's your sign to harvest. For me in Massachusetts, this is around end of July/middle of August.
- Loosen the soil with a garden fork and gently lift bulbs (don’t yank by the stem), taking care to not puncture the garlic.
- Brush off dirt but don’t wash.
- Cure garlic by laying it out in a dry, shady, airy spot for 2–4 weeks. This toughens the skins for storage. Hang garlic in small bundles, or lay it out in a single layer on a drying rack or screen. I lay mine on hardware cloth elevated off the floor of my garage with the doors open.
- Once cured, trim roots and stems, then store in a cool, dry place.
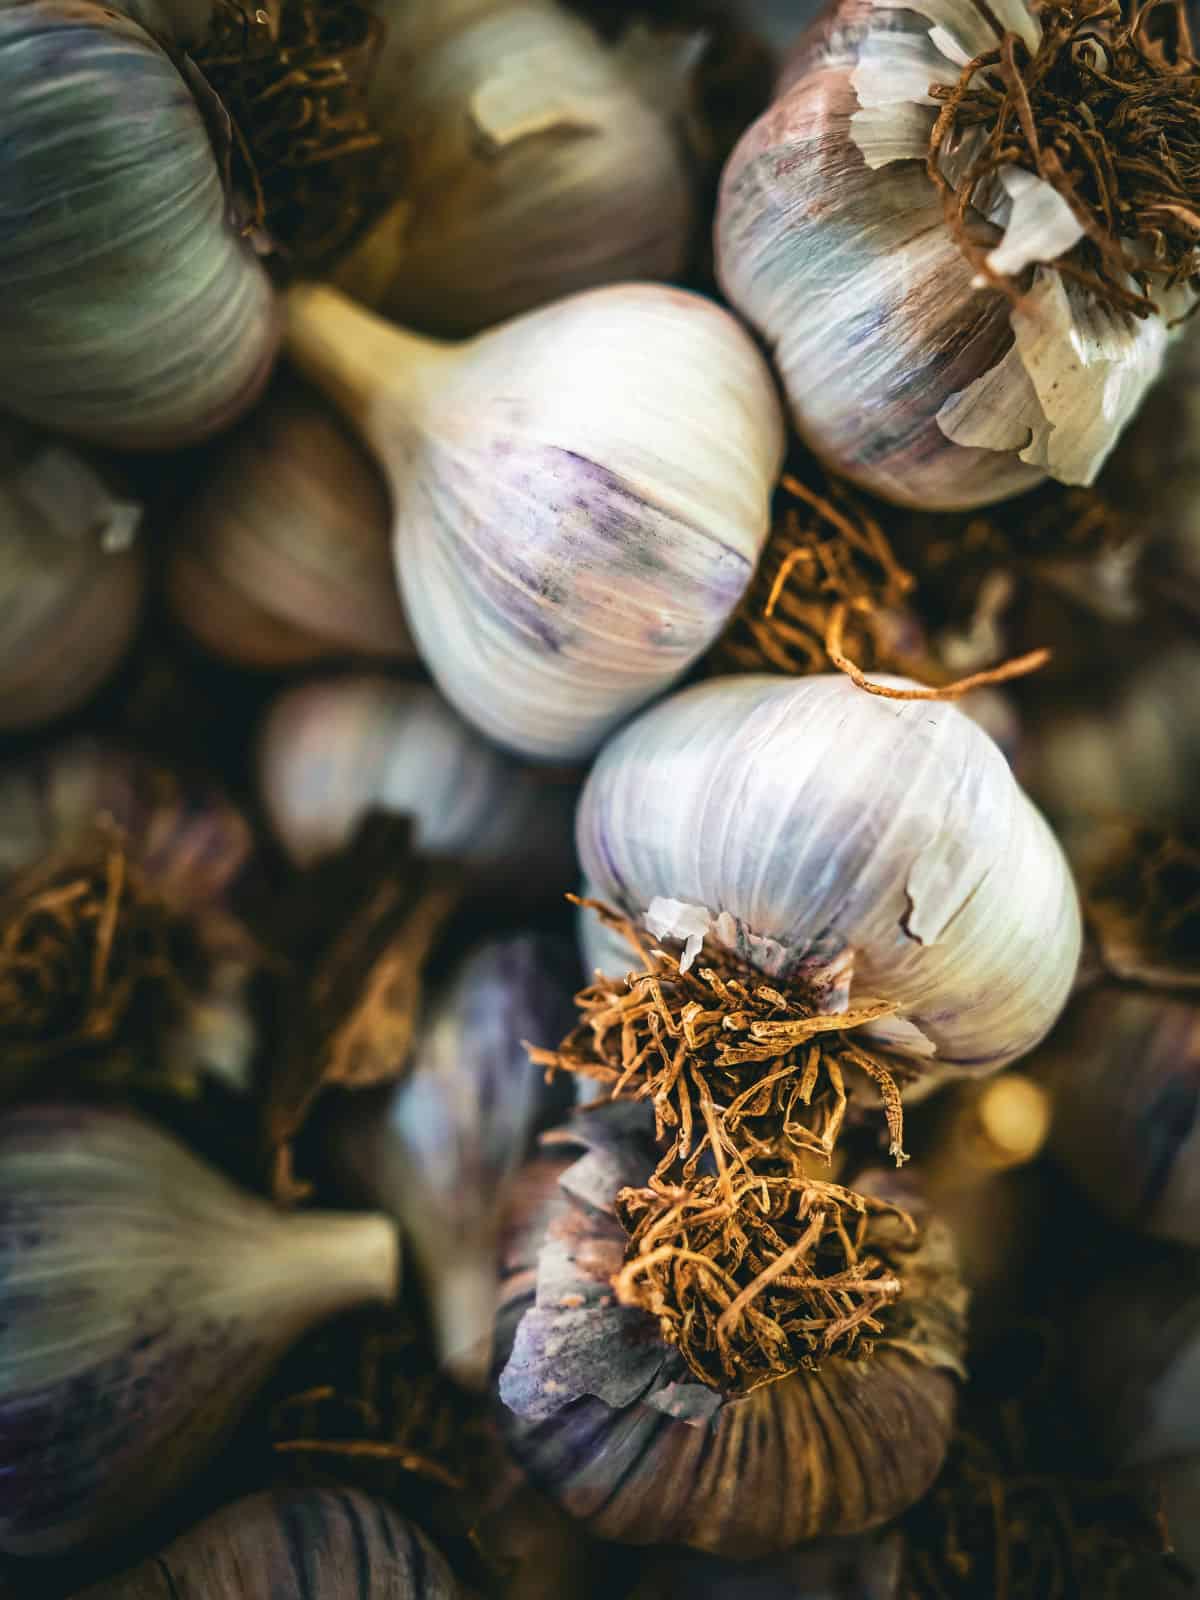
Softneck varieties can be braided for beautiful kitchen storage, while hardnecks are best kept in mesh bags or baskets. I like to repurpose those mesh bags that citrus fruits come in from the grocery store to hang some bulbs in the basement, but I peel and freeze most of my harvest.
Now — the fun part! If you've planned it well, you can set aside some of your harvest to plant in a couple months, which will then produce next summer's harvest. Here's the back of the napkin gardener's garlic math that I use:
- If you’re ordering seed garlic, a good rule of thumb is that each pound contains about 40–50 cloves.
- Each clove is what you plant, and each one will (ideally!) grow into a full bulb.
- For example, I usually plant 150–200 cloves, which means 150–200 bulbs at harvest.
- Since hardneck garlic averages 5–6 cloves per bulb, that works out to more than enough garlic to cook with year-round:
- 150 x 5 = 750 cloves
- 750 - 150 = 600 (what I have leftover after setting aside 150 to plant)
- 600 / 52 = 11.5 cloves per week on average.
Disclaimer: I'm merely a garlic-loving gardener, not a mathematician. If the math seems funny or doesn't make sense, know that this is simply how my brain thinks of planning! Also these calculations factor in the amount of cloves in hardneck garlic.
| family size | cloves to plant | lbs. of seed garlic | yield (bulbs) |
| 1-2 people | 50-75 | 1-2 lbs | 50-75 bulbs |
| 3-4 people | 100-150 | 2-3 lbs | 100-150 bulbs |
| 4-6 people | 150-200 | 3-4 lbs | 150-200 bulbs |
| garlic freaks (me!!) | 250+ | 5+ lbs | 250+ bulbs |
Garlic FAQ
Can I plant grocery store garlic?
Sometimes — but often it’s been treated to prevent sprouting. For best results, buy seed garlic from a local farm or seed company!
How much garlic should I plant?
Each clove equals one bulb. Above, you'll find some loose math, but it's all a little nebulous since bulb sizes can vary greatly! This post from Keene Organics can help you visual it a bit more.
Does garlic need fertilizer?
Garlic is a heavy feeder, and I am a lazy gardener. In a perfect world, I would put down some bone meal in the fall just before planting, but since I am usually scrambling to get it in the ground...I rely on my homemade compost. In the spring, I'll sprinkle blood meal when the foliage is really starting to grow.
Comments
No Comments