One of my fondest memories growing up is of my dad exclaiming, right when the weather started turning from fall to winter, that it was "time for a pot roast!" It was a running joke in my family and one that he and I have continued to this day as soon as that New England winter chill first hits. And despite being vegetarian and then vegan for the better part of 10 years (that's a story for another day as to how I started eating meat again), a pot roast always held a special place in my heart and tummy. This Dutch Oven Pot Roast doesn't taste anything like the sad, grey pot roast of your youth or school cafeteria — one of the biggest pot roast sins, IMHO, is that the meat isn't seasoned enough at the beginning of the recipe, and people sometimes skimp on flavor in the final tasting.
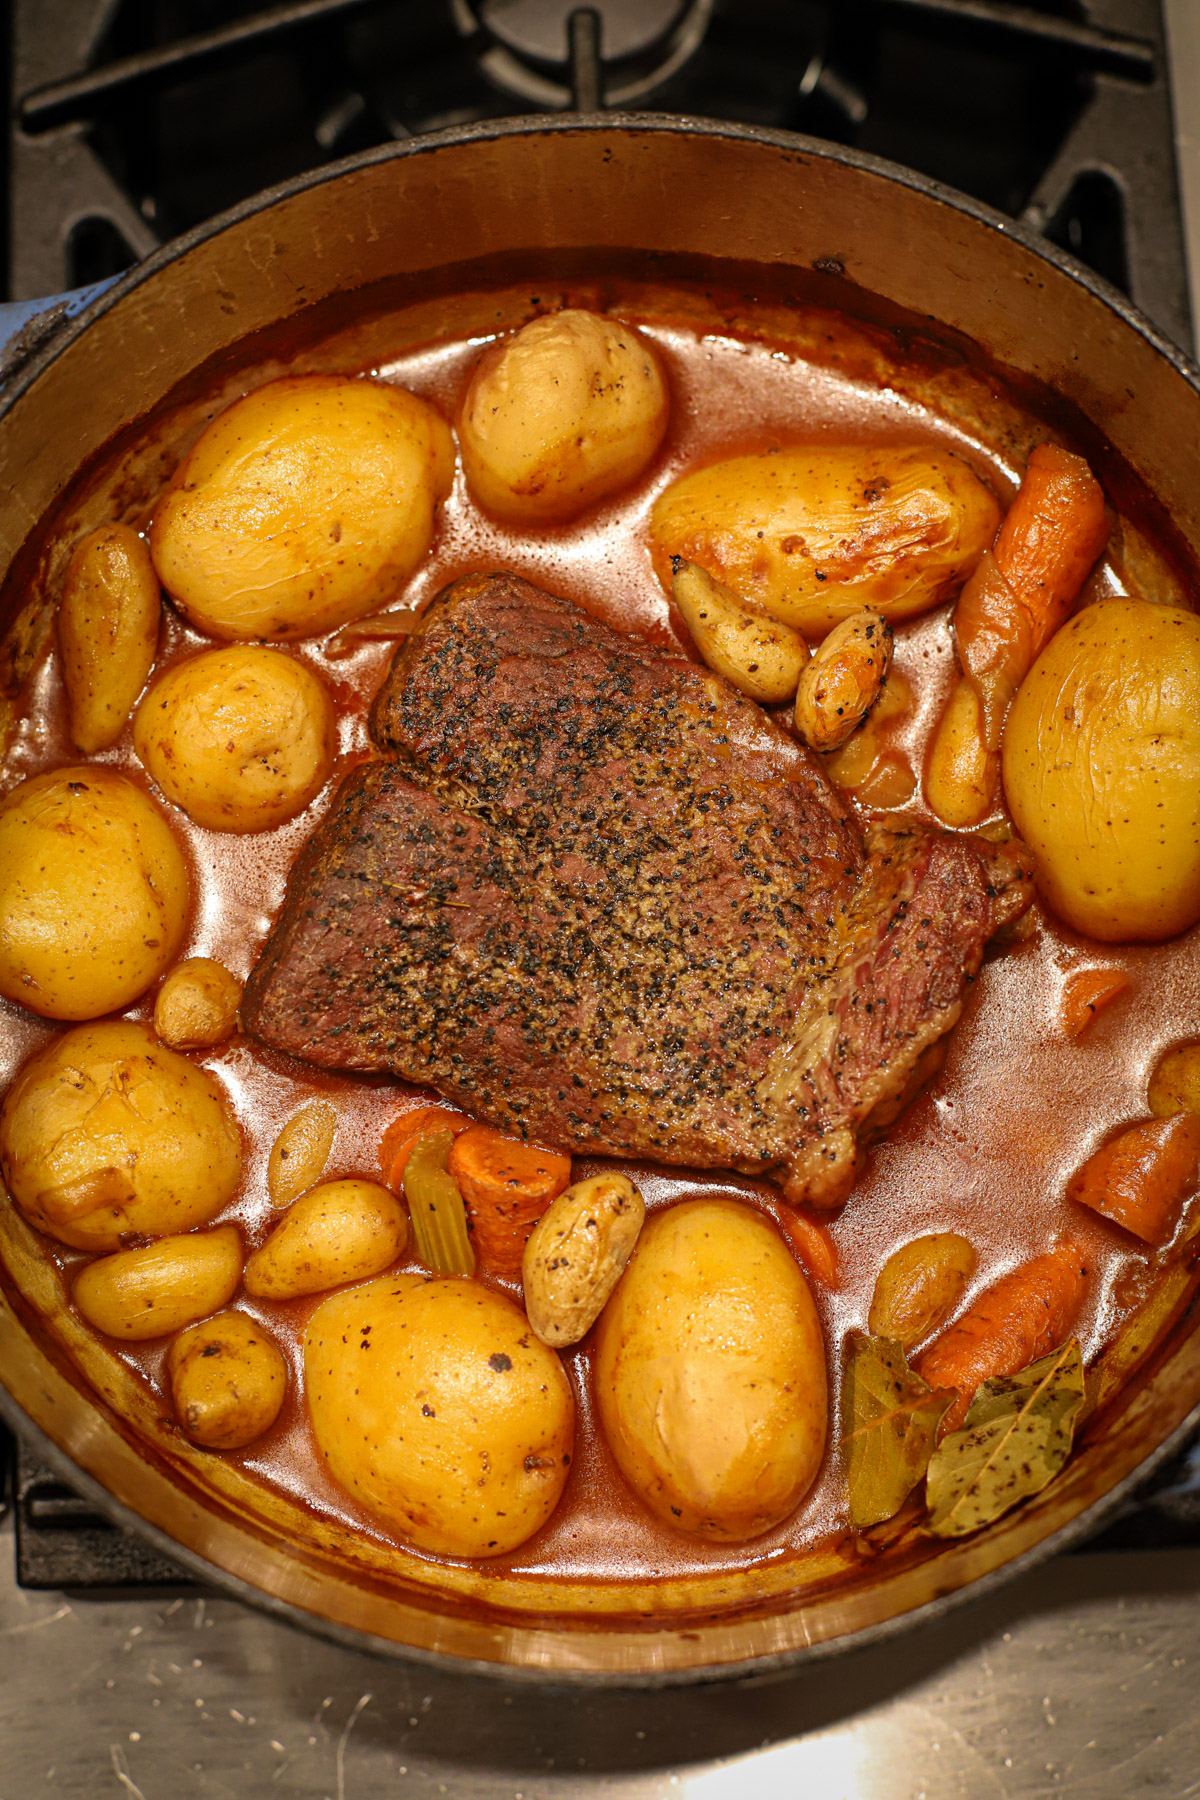
I've made pot roast in the Instant Pot and a slow cooker over the years, but I much prefer a Dutch oven pot roast. Building the flavor is essential, otherwise, you simply have a warmed-up hunk of meat with some vegetables in liquid. Half the enjoyment of cooking, and eating, is tasting the layers of flavors, and I find that can only be accomplished by taking certain steps and not shortcutting it all by tossing it in a pot and saying "See you in 10 hours!" That works for some dishes, but pot roast isn't one of them.
📖 Recipe
Dutch Oven Pot Roast
Ingredients
- 1 boneless chuck roast approximately 3 lb; consider brisket or bottom round roast as alternatives. I’ve also used top round, though less common
- Salt and black pepper to taste
- 2 tablespoon extra-virgin olive oil
- 1 large yellow or white onion roughly chopped
- 5-8 cloves garlic minced or pressed (I went with 6, but follow your heart)
- 1 heaping tablespoon tomato paste
- 2 tablespoon all-purpose flour
- ½ cup red wine
- 2 cups beef broth
- 2 tablespoon Worcestershire sauce
- Fresh thyme a few sprigs
- 2 bay leaves
- 2 lb small Yukon gold potatoes
- 1 lb carrots peeled and cut into 3” chunks
- 4 celery ribs roughly chopped into 3” pieces
Instructions
- Pre-heat oven to 350°F.
- Season the roast generously with salt and pepper on all sides.
- Heat olive oil in your Dutch oven over medium-high heat and brown the roast on all sides, approximately 15 minutes. Transfer the roast to a plate and set aside.
- In the same pot, add chopped onions and minced garlic, sautéing until onions are translucent –2ish minutes.
- Stir in tomato paste first, then flour – the mixture will thicken up quickly, so this only takes about 30 seconds or so.
- Pour in red wine, stirring thoroughly to get any pieces hanging out on the sides of the pot, and allow the wine to reduce for 1-2 minutes.
- Add beef broth, Worcestershire sauce, thyme, and bay leaves.
- Place the roast back in the pot, and add potatoes, carrots, and celery all around the roast.
- Cover and cook in the oven at 350°F for 2.5 to 3 hours. I check at 2.5 and make a judgment call, but up to 3 hours is usually where I land. You want the meat to practically fall apart when you poke it.
- Use tongs to break up the meat into smaller pieces, then stir everything together to combine.
- When finished, taste the sauce and adjust as needed. More salt, pepper, Worcestershire sauce, or even a splash of soy sauce could work here, too.
- Serve as is (my favorite, as I’m a simple, lazy gal in the winter) or with garlic mashed potatoes, creamy polenta, sweet potato mash, or a side salad to lighten things up a bit. The world is your oyster!
Notes
- Tough cuts of meat work best for pot roast, so they can soften up during their hours-long oven vacation. Lean cuts with lots of connective tissue that are typically too tough when quickly cooked in a pan or on the grill. Chuck, brisket, bottom round, etc. Sometimes I'll use top round roast, too, but that's because I'm frugal (cheap???) and use what I have in the freezer.
- This calls for red wine, and I know professional chefs will have a preference as to dry or fruity or what have you, but I don't even drink, so I just used whatever random bottle of red we had in the liquor cabinet. I think it was shiraz, but it all cooks off and I personally can't tell the difference in a finished dish!
- Store leftovers in an airtight container in the fridge for 3-5 days. I also love to freeze it in quart containers for lazy weeknight meals to make my life easier. I thaw in a small pot on the stove with a little extra water over medium-low.
- You can have fun with the veggies here and use pearl onions, parsnips, and/or turnips. Use what you like and make it your own!


Andrea A says
I tried out my new enamel Dutch oven with this and it was delish! I used a small bottom roast and I was able to slice it into perfect tender slices. It was the perfect combo of spices. I grow my own and used all fresh.